
From Nigel's Kitchen Table
Homemade Lemon Curd
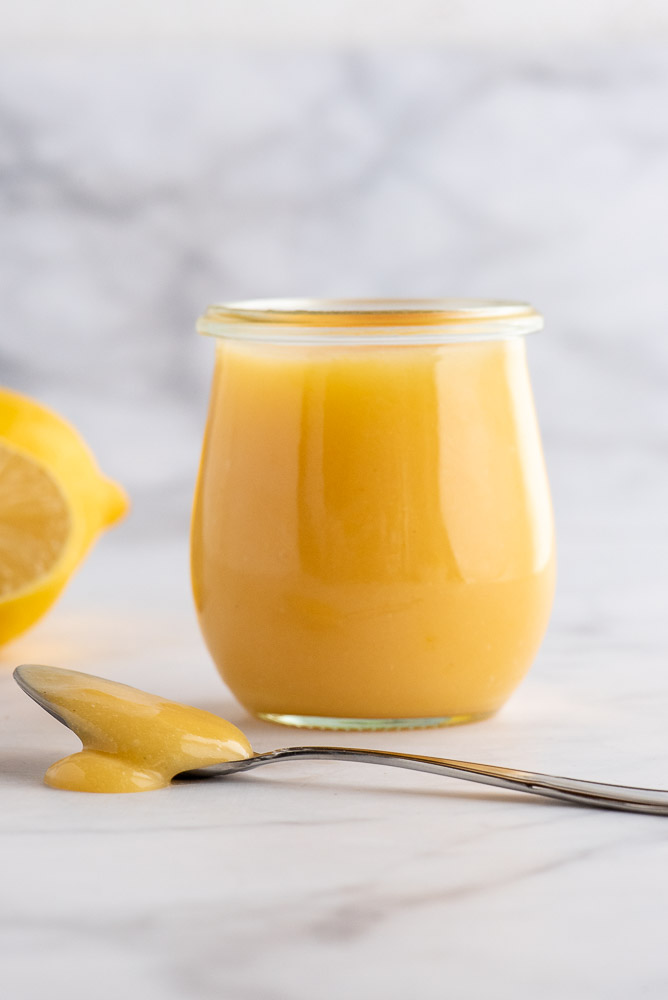
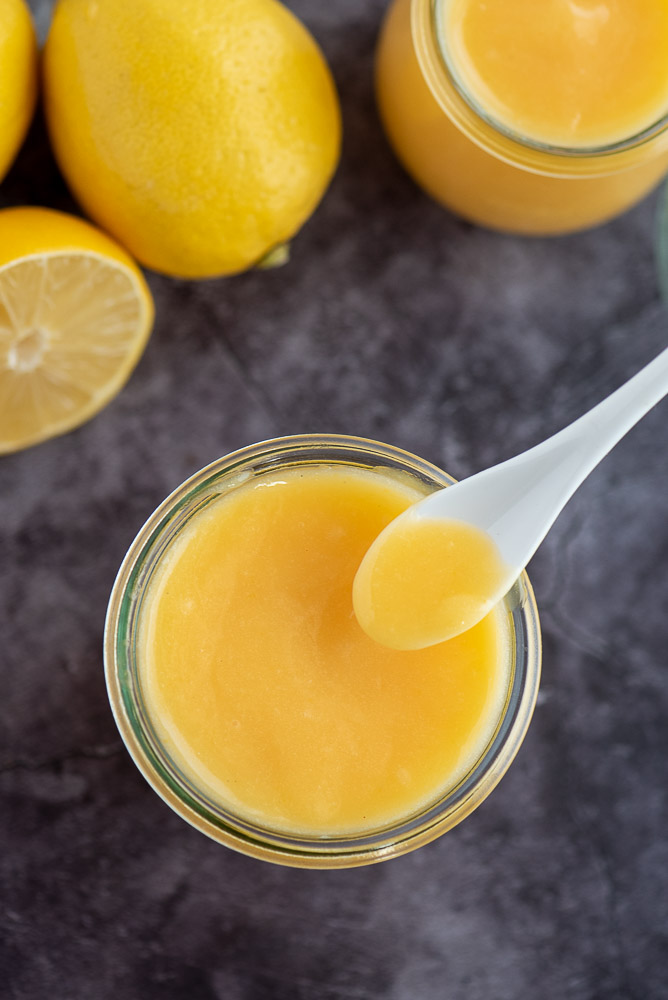
Bright, tangy homemade lemon curd made with five simple ingredients and cooked quickly on the hob.
Navigate the recipe
On this page
The recipe, step by step
This homemade lemon curd is smooth, buttery and intensely lemony, with just the right balance of sweetness and sharp citrus flavour. It comes together quickly on the hob using a handful of simple ingredients, then thickens beautifully as it chills.
Once you have made lemon curd from scratch, there are so many ways to use it. Spread it over English muffins, toast, scones or croissants, sandwich it between Orange Lemon Curd Biscuits, spoon it over yoghurt or ice cream, or use it for filling cakes, tarts, macarons and choux pastry.
It is also a lovely way to add a fresh lemon flavour to buttercream, whipped cream or mascarpone.
Recipe Highlights
- Quick and easy: About 10 minutes preparation and 10 minutes cooking.
- Fresh lemon flavour: Made with both fresh lemon juice and finely grated zest.
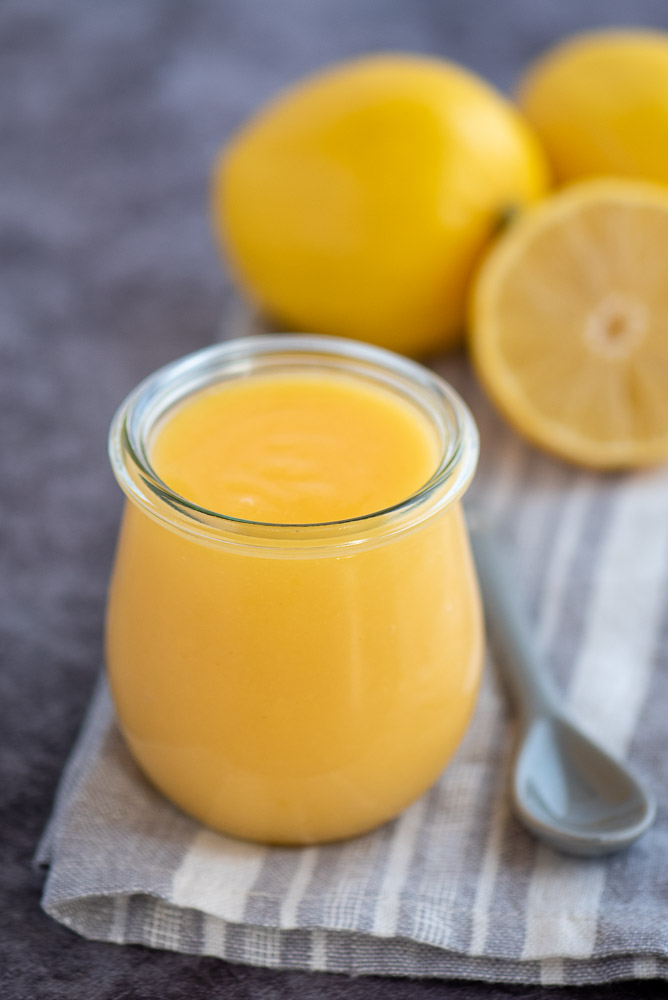
- Texture: Smooth, creamy, buttery and thick once chilled.
- Gluten-free and nut-free: The basic lemon curd contains neither gluten nor nuts.
- Versatile: Spread it, spoon it, use it as a filling or fold it into creams and frostings.
- Make ahead: Keeps well refrigerated and can also be frozen.
- Quantity: Makes approximately 400 g.
- Time: 1 hour 20 minutes total, including 1 hour cooling/chilling.
What Is Lemon Curd?
Lemon curd is a smooth citrus spread made by gently cooking lemon juice and zest with sugar and eggs, then enriching it with butter.
It sits somewhere between a custard and a preserve: thick and creamy like custard, but with the bright, concentrated flavour of a good lemon jam.
Unlike jam, however, lemon curd gets its richness and structure from eggs and butter rather than pectin.
Ways to Use Lemon Curd
Homemade lemon curd is incredibly versatile. Try it:
- Spread over scones, toast, crumpets, croissants or English muffins.
- Sandwiched into Orange Lemon Curd Biscuits.
- As a filling for macarons, choux pastry, tarts or pancakes.
- Spoon over pavlova or use in lemon meringue pie.
- Fold into whipped cream, mascarpone or buttercream.
- Spoon over yoghurt, cottage cheese or vanilla ice cream.
- Use as a filling or topping for homemade ice cream bars.
Because the recipe uses one whole egg plus two additional yolks, it also leaves you with egg whites that are perfect for meringue-based desserts, such as my Blueberry Pavlova.
Ingredients and Substitutions
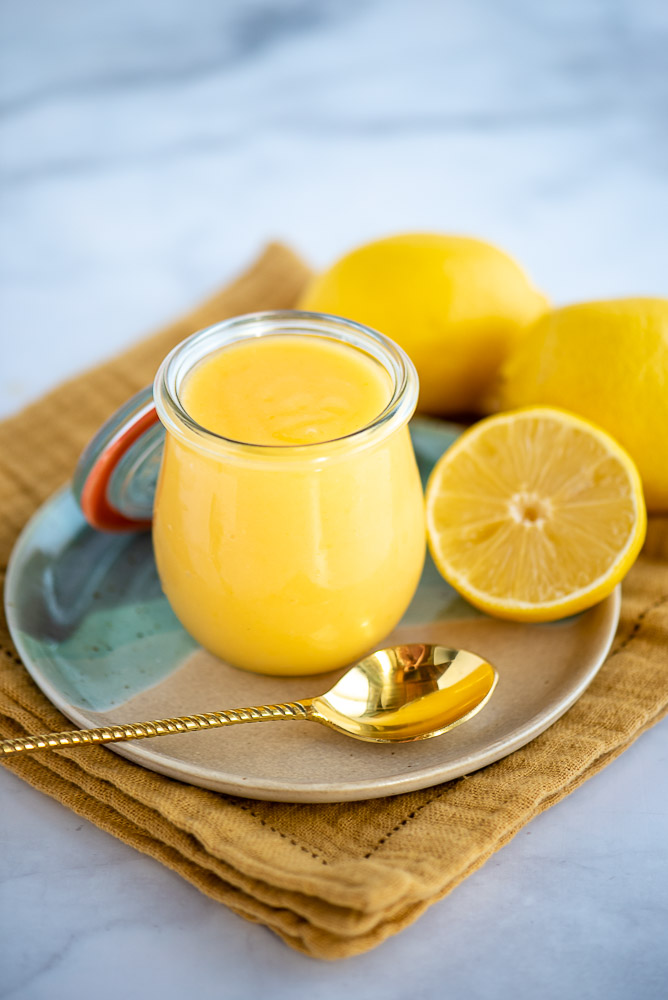
- Fresh lemon juice: Use 100 g fresh lemon juice, approximately 2 lemons. Fresh juice gives the cleanest, brightest lemon flavour.
- Lemon zest: Use 1 tablespoon lemon zest from approximately 1 lemon. Since you are using the peel, choose unwaxed lemons wherever possible.
- Caster sugar: Use 160 g. It balances the acidity of the lemon and contributes to the smooth texture of the curd.
- Egg: Use 1 medium egg.
- Egg yolks: Use 2 medium egg yolks. The combination of whole egg and additional yolks gives the curd richness while helping it thicken.
- Butter: Use 100 g butter, cut into small cubes. Add it cold after the lemon and egg mixture has cooked.
- Fine sea salt: Add a pinch to balance the sweetness and sharpen the lemon flavour.
Optional Stabiliser for Cake Fillings
For cake fillings: When I’m using lemon curd to fill or decorate cakes, I recommend adding 1½ teaspoons cornflour (cornstarch) to the mixture before heating. It gives the curd a little extra stability, making it easier to use as a cake filling or fold into whipped cream, mascarpone or buttercream without becoming too loose.
How to Make Homemade Lemon Curd
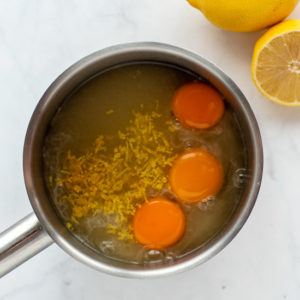
1. Combine the ingredients: Place the lemon juice, lemon zest, whole egg, egg yolks, caster sugar and a pinch of fine sea salt in a small saucepan. Whisk until combined.
2. Add cornflour when required: When making a firmer lemon curd for cake filling or decorating, whisk in 1½ teaspoons cornflour before placing the pan over the heat.
3. Cook gently: Place the saucepan over a medium heat and cook, stirring continuously, for approximately 2–3 minutes, until the sugar has dissolved and the mixture begins to bubble gently and coat the back of a wooden spoon.
4. Remove from the heat: Take the saucepan off the heat as soon as the curd has thickened.
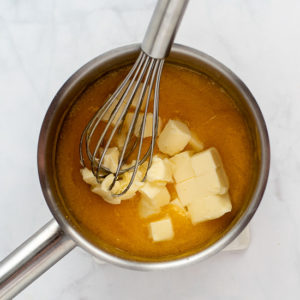
5. Add the butter: Add the cold cubed butter and stir continuously until it has completely melted and the curd is smooth.
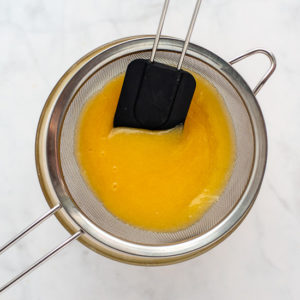
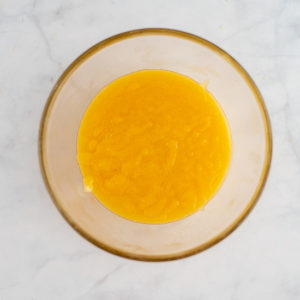
6. Strain the curd: Immediately pass the lemon curd through a fine sieve into a medium bowl or clean storage jar. This removes the lemon zest and any small pieces of cooked egg.
7. Cover the surface: When using a bowl, press cling film directly onto the surface of the curd to prevent a skin from forming.
8. Chill: Refrigerate for approximately 1 hour, or until completely cold and properly thickened.
Nigel’s Recipe Tips
Keep stirring while it cooks. Eggs can scramble if they become too hot or sit against the bottom of the saucepan for too long. Continuous stirring keeps the heat moving evenly through the mixture.
Do not rush the heat. A moderate heat gives you much more control than trying to cook the curd quickly over a high flame.
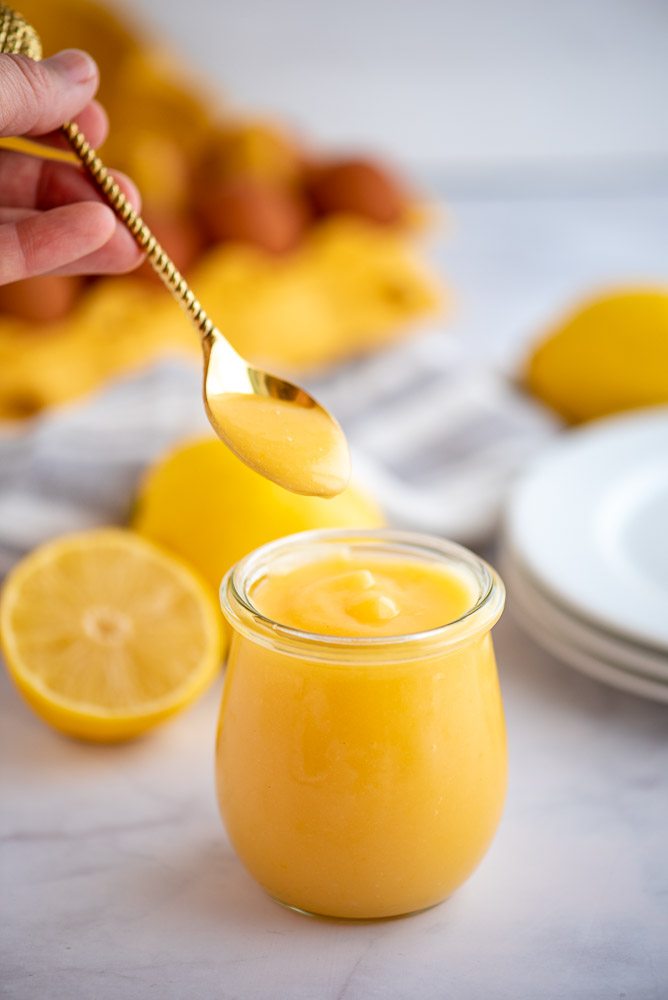
Look for the spoon test. The curd is ready when it has noticeably thickened and coats the back of a wooden spoon.
Add the butter off the heat. Stirring cold butter into the hot curd after cooking gives it its beautifully rich, glossy texture.
Strain immediately. Passing the hot curd through a fine sieve gives you a much smoother finish and removes the zest.
Cover the actual surface. Press the cling film directly against the curd rather than simply covering the bowl. This prevents a skin developing as it cools.
Allow it to chill fully. Lemon curd thickens significantly as it cools. This is especially important when you plan to use it as a cake or tart filling.
Do not panic over a few lumps. The sieve will normally remove them. If the chilled curd still looks slightly lumpy, a very brief blend with a hand blender can smooth it.
Variations
Lime Curd
Replace the lemon juice and zest with fresh lime for a sharper, more aromatic citrus curd.
Orange Curd
Use fresh orange juice and zest for a sweeter, gentler variation.
Lemon and Passion Fruit Curd
Replace part of the lemon with passion fruit for a more tropical flavour while retaining enough citrus acidity to balance the sweetness.
Frequently Asked Questions
Why Has My Lemon Curd Scrambled?
The mixture has probably become too hot or was not stirred continuously.
Keep the heat moderate and continue whisking or stirring as the curd thickens.
How Do I Know When Lemon Curd Is Ready?
It should visibly thicken and coat the back of a wooden spoon.
Remember that it will become considerably thicker after chilling, so do not keep cooking simply because the hot curd looks softer than the finished product.
Why Do You Strain Lemon Curd?
Straining removes the zest as well as any small pieces of cooked egg, leaving you with a smoother, more luxurious texture.
Does Lemon Curd Thicken as It Cools?
Yes. The butter and egg mixture firms as it chills, so allow the full 1-hour cooling period before judging the final consistency.
Can I Use Lemon Curd for Filling Cakes?
Yes. For a firmer cake-filling consistency, the recipe recommends adding 1½ teaspoons cornflour before cooking.
Make sure the curd is completely cold before using it in a cake.
Can I Make Lemon Curd Ahead?
Yes. It keeps well refrigerated and can be prepared several days before you need it.
Can I Freeze Lemon Curd?
Yes. This recipe can be frozen for up to 3 months.
Tools You’ll Need
- Small saucepan
- Whisk
- Wooden spoon or heat-resistant spatula
- Fine-mesh sieve
- Medium mixing bowl or storage jar
- Citrus juicer
- Fine grater or zester
- Digital kitchen scales
Storage and Freezing
Storing
Transfer the finished lemon curd to an airtight container or clean jar and keep it refrigerated for up to 1 week.
Keep the container covered and return the curd to the refrigerator promptly after serving.
Freezing
Lemon curd can be frozen for up to 3 months.
Transfer it to a suitable airtight freezer-safe container, leaving a little space for expansion, and freeze once completely cold.
Defrost it overnight in the refrigerator, then stir until smooth before serving.
Nutrition
Serving: 1 tablespoon (15 g)
Calories: 58.6 kcal · 3% DV
Total Fat: 3.6 g · 5% DV
Carbohydrates: 6.5 g · 2% DV
Sugars: 6.14 g · 7% DV
Protein: 0.45 g · 1% DV
Sodium: 7.56 mg · 0% DV
Fibre: 0.04 g · 0% DV
% Daily Values are based on a 2,000-calorie diet.
Nutritional information is provided as an estimate and may vary depending on the exact ingredients, brands and serving size used.
Homemade Lemon Curd
INGREDIENTS LIST
- 100 g fresh lemon juice (approx. 2 lemons)
- 1 tbsp lemon zest (from 1 lemon)
- 160 g caster sugar
- 1 medium egg
- 2 medium egg yolks
- 100 g butter (cut into small cubes)
- a pinch fine sea salt
- 1.5 tsp cornflour (cornstarch) (optional)
Preparation
- Into a small saucepan, add the lemon juice, lemon zest, eggs and sugar. Whisk to combine and place over medium heat and cook, stirring continuously for 2-3 minutes until the sugar has dissolved and it just starts to bubble and coat the back of your wooden spoon. *If you are going to use this lemon curd for filling and decorating cakes, I recommend adding one and half teaspoons of cornstarch with the mix before heating. This will stabilise the curd and allow you to add it to cream or butter frosting.
- Remove the saucepan from the heat, then add the cold, cubed butter, stirring continuously until melted.
- Strain immediately into a medium bowl or storage jar to remove any bits of zest.
- If you use a bowl, make sure to cover the surface with plastic wrap to prevent a skin from forming and refrigerate for 1 hour or until cold.
FROM MY KITCHEN TO YOURS
Made this recipe?
I would love to hear how it turned out. Leave a comment and add a star rating to help other home cooks discover the recipe.
A recipe worth keeping
Save this recipe for another day
Pin it to one of your boards and keep it close for the next time you are ready to cook or bake.
Save to PinterestKeep cooking
You may also like
 Recipe
Chocolate Chia Pudding
A creamy vegan chocolate chia pudding topped with rich hazelnut fudge sauce for a simple, satisfying dessert or breakfast.
View recipe Recipe
Lemon Crinkle Cookies
Soft lemon crinkle cookies with snowy cracked tops and a bright, refreshing citrus flavour.
View recipe Recipe
Coffee & Walnut Loaf Cake
A moist coffee and walnut loaf cake finished with a smooth espresso and vanilla glaze.
View recipe
Around the table
Questions and kitchen notes
Made this recipe? Leave a rating and tell me how it turned out. Your questions and tips may also help the next person making it.