
From Nigel's Kitchen Table
Raspberry Zserbó
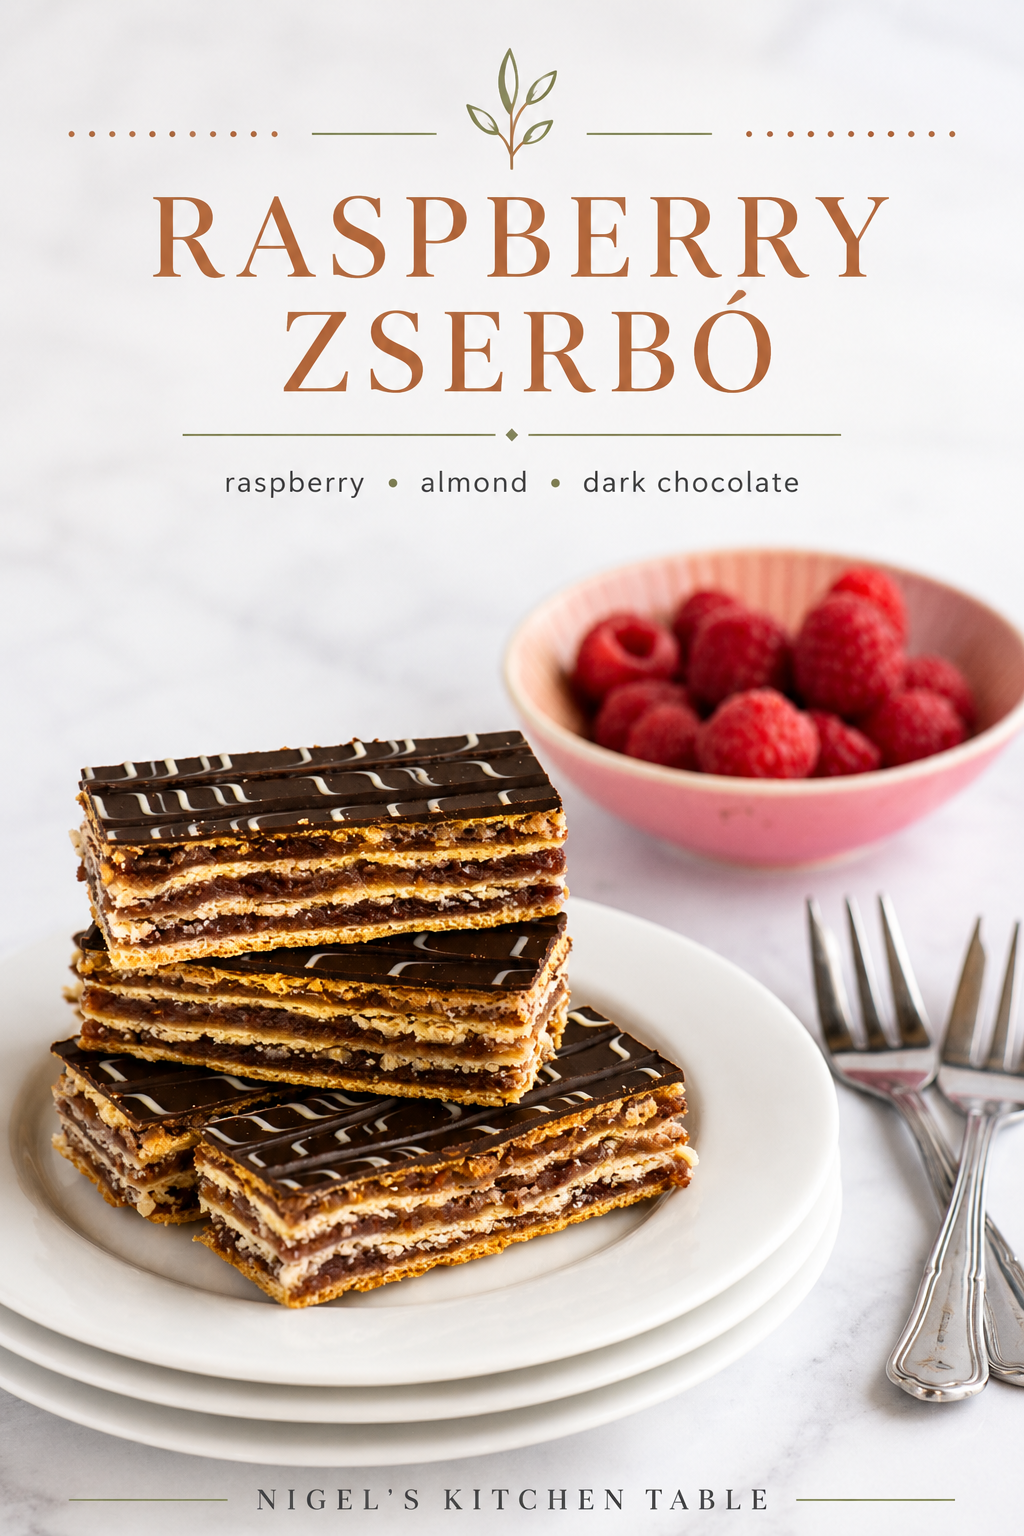
A raspberry variation of classic Hungarian Zserbó, layering enriched pastry with raspberry jam, almonds and chocolate.
Navigate the recipe
On this page
The recipe, step by step
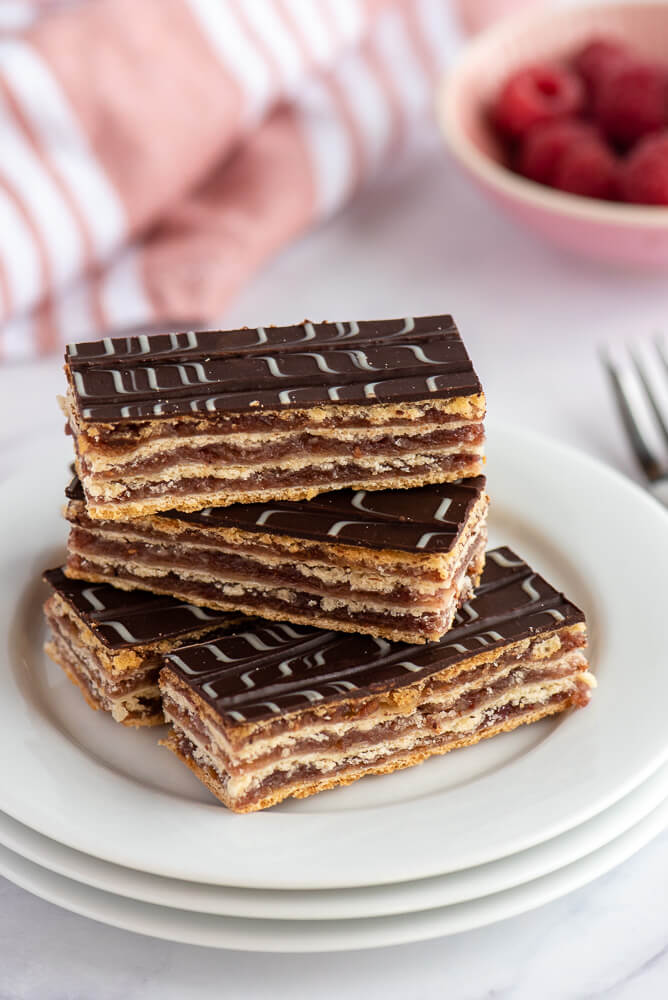
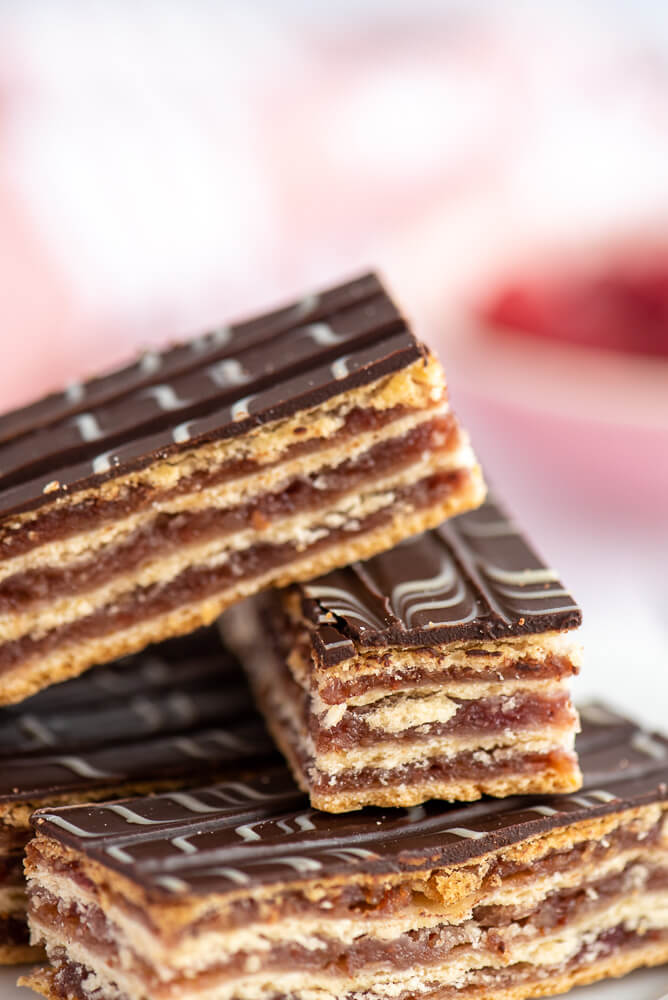
This raspberry Zserbó is my twist on the classic Hungarian layered cake, with thin layers of enriched pastry, raspberry jam and ground almonds, all finished with a smooth dark chocolate glaze.
Traditional Zserbó is usually made with apricot jam and walnuts, but I particularly like the combination of raspberry and almond. The sharpness of the raspberry cuts through the sweetness beautifully, while the dark chocolate on top gives each slice a rich finish.
Zserbó has become one of those cakes I associate with Hungary, particularly around Christmas and the colder months. This version was inspired by a family recipe shared with me by a cousin of my mother-in-law, which I adapted using flavours I enjoy.
The secret is to roll the pastry very thinly. Once baked, the layers soften slightly against the jam, giving you that distinctive combination of tender pastry, sticky raspberry filling and smooth chocolate.
For another layered fruit bake, try my blueberry cheesecake bars or my cherry almond cookie bars.
Recipe Highlights
- Ease: Straightforward to make, although the thin pastry layers require a little care when rolling.
- Taste: Raspberry, almond, lemon and dark chocolate in clearly defined layers.
- Texture: Thin, tender pastry with sticky jam, ground almonds and a smooth chocolate glaze.
- Layers: Four pastry layers with three layers of raspberry and almond filling.
- Quantity: 21 slices.
- Preparation: 25 minutes.
- Resting and chilling: 45 minutes.
- Baking: 25–30 minutes, checking from 25 minutes.
- Total time: 1 hour 35 minutes minimum, with up to 5 additional minutes of baking if needed.

Ingredients and Substitutions
Pastry
- Plain flour: Use 250 g plain flour (all-purpose flour) to form the structure of the thin pastry layers.
- Butter: Use 100 g butter. Rubbing it into the flour gives the pastry its short, tender texture.
- Icing sugar: Use 75 g icing sugar (powdered sugar). Its fine texture incorporates easily into the dough.
- Baking powder: Use 1 teaspoon baking powder to add a little lightness to the pastry.
- Fine sea salt: Add a pinch. I recommend keeping it in the dough because it balances the sweetness and helps bring out the butter, raspberry and chocolate flavours.
- Lemon zest: Use 1 teaspoon lemon zest, if you like. It adds a subtle fresh citrus note that works particularly well with raspberry.
- Egg yolk: Use 1 medium egg yolk, approximately 20 g. It enriches the pastry and helps bind the dough.
- Vanilla: Use 1 teaspoon pure vanilla extract or ¼ teaspoon vanilla paste.
- Milk: Use 75 ml milk to bring the pastry dough together.
Raspberry and Almond Filling
- Raspberry jam: Use 350 g raspberry jam. I recommend choosing one with plenty of fruit and a good balance of sweetness and acidity, as the jam is one of the dominant flavours in the finished cake.
- Ground almonds: Use 100 g ground almonds. They add flavour and texture while helping control the moisture from the jam.
Chocolate Glaze
- Dark chocolate: Use 100 g dark chocolate with at least 50% cocoa solids. I recommend good-quality chocolate here because the glaze is such a prominent part of every slice.
- Butter: Use 30 g butter for a smooth, softer glaze.
- Honey: Use 1 tablespoon honey to add sweetness and shine. Corn syrup, golden syrup or maple syrup are listed alternatives.
Ingredients I Recommend
I recommend using a good raspberry jam and good-quality dark chocolate for this recipe. They are two of the strongest flavours in the cake, so using better ingredients makes a noticeable difference.
For the vanilla, I particularly like vanilla paste because a small amount gives the pastry a rounded vanilla flavour without overpowering the raspberry and almond.
Nigel recommends
Vanilla Bean Paste
I recommend Nielsen-Massey vanilla bean paste for the pastry. Its rich vanilla flavour works particularly well with raspberry, almond and dark chocolate.
 Ingredient
Nielsen Massey
Vanilla Bean Paste
Rich vanilla bean paste with a concentrated vanilla flavour and visible vanilla seeds, ideal for cakes, biscuits, custards, creams and glazes.
Some retailer links may be affiliate links. Recommendations remain editorially independent.

How to Make Raspberry Zserbó
1. Make the pastry: Place the 250 g flour and 100 g butter in a large mixing bowl. Rub them together with your fingertips until the mixture resembles breadcrumbs.
2. Add the remaining pastry ingredients: Stir through the 75 g icing sugar, 1 teaspoon baking powder, pinch of salt, optional lemon zest, egg yolk, vanilla and 75 ml milk.
3. Form the dough: Mix everything together until a dough forms.
4. Rest the dough: Leave the dough to rest for 15 minutes.
5. Prepare the pan: Line a 20 × 30 cm (8 × 12 inch) baking pan or tray with baking parchment.
6. Make the filling: Mix the 350 g raspberry jam and 100 g ground almonds together in a medium bowl until evenly combined.
7. Divide the pastry: Once the dough has rested, divide it into 4 equal pieces.
8. Roll the first layer: Roll one piece of pastry very thinly, approximately 3 mm (⅛ inch) thick, into a rectangle that fits your baking pan.
9. Add the first filling layer: Place the pastry in the prepared pan and spread one-third of the raspberry and almond filling evenly over it.
10. Add the second layer: Roll another piece of pastry to the same size and lay it over the filling. Spread another one-third of the filling over the top.
11. Add the third layer: Repeat with a third piece of pastry and the remaining raspberry and almond filling.
12. Add the final pastry layer: Roll the fourth piece of pastry and place it over the top.
13. Prick the pastry: Prick the top layer all over with a fork. This allows steam to escape and helps prevent the pastry puffing excessively during baking.
14. Chill: Place the assembled Zserbó in the refrigerator for 30 minutes.
15. Preheat the oven: Heat the oven to 180°C fan / 400°F / Gas 6.
16. Bake: Place the pan on the middle shelf and bake for 25–30 minutes. Begin checking after 25 minutes. The top should be evenly golden brown; if it still looks pale, continue baking for a few more minutes.
17. Cool: Remove from the oven and allow the cake to cool.
18. Melt the chocolate: Place the 100 g dark chocolate in a heatproof bowl over a saucepan of gently simmering water. Make sure the bowl does not touch the water and melt the chocolate gently.
19. Finish the glaze: Remove the melted chocolate from the heat and stir in the 30 g butter and 1 tablespoon honey until completely smooth. Leave it to cool slightly for approximately 5 minutes.
20. Turn the cake over: Place a wire rack or chopping board over the cake and carefully turn it out so that the previously baked bottom becomes the smooth top surface.
21. Glaze: Pour the chocolate glaze over the cake and spread it evenly across the surface.
22. Leave to set: Allow the chocolate glaze to set completely. If the glaze becomes too firm before you use it, warm it very gently over a low heat.
23. Slice: Once set, trim the edges if you would like especially neat pieces, then cut into 21 slices using a long serrated knife warmed in hot water and dried before cutting.
Nigel’s Recipe Tips
Roll the pastry very thinly. This is probably the most important part of the recipe. Aim for around 3 mm so that the baked pastry softens against the jam rather than producing thick, dry layers.
Use good jam. I recommend a raspberry jam with plenty of fruit rather than an excessively sweet one. The raspberry flavour should still be noticeable beneath the chocolate.
Use good-quality chocolate. The glaze is a major part of the finished Zserbó, so this is not the place for chocolate you would not enjoy eating on its own.
Mix the almonds into the jam. The ground almonds do more than add flavour: they also help keep the filling in place between those thin pastry layers.
Rest the dough. Give it the full 15 minutes before rolling. It makes the dough easier to handle and roll thinly.
Chill before baking. Once all four layers are assembled, refrigerate the cake for 30 minutes before it goes into the oven.
Prick the top generously. This allows steam to escape and helps keep the upper pastry layer relatively flat.
Turn the cake over before glazing. I like doing this because the underside gives you a smoother, flatter surface for the chocolate.
Let the glaze set before cutting. Cutting too soon will drag the chocolate across the layers.
Warm the knife for cleaner slices. Dip a long serrated knife into hot water, dry it and then slice. Repeat between cuts when necessary.
Allow for the resting and chilling time. The dough rests for 15 minutes before rolling, then the assembled Zserbó chills for another 30 minutes before baking. I recommend allowing the full 45 minutes because both stages make the pastry easier to handle and help the layers bake more evenly.
Check from 25 minutes. I recommend checking the cake at 25 minutes rather than automatically giving it the full 30. The pastry should be evenly golden when ready.
Variations
Traditional Apricot and Walnut Zserbó
For a version closer to traditional Hungarian Zserbó, replace the raspberry jam with apricot jam and the ground almonds with ground walnuts.
The apricot and walnut combination works particularly well with the dark chocolate glaze.
Different Jams
You can adapt the cake using other jams. Choose one with plenty of fruit flavour and enough acidity to balance the pastry and chocolate.
Different Ground Nuts
Walnuts are traditional, but almonds pair particularly well with raspberry. You could also experiment with other finely ground nuts that complement your chosen jam.
Fresh Raspberry Boost
I sometimes like adding a few fresh raspberries to the jam for an even more pronounced raspberry flavour.
Frequently Asked Questions
What Is Zserbó?
Zserbó is a Hungarian layered cake traditionally made with thin pastry, apricot jam, walnuts and a chocolate topping.
This version uses raspberry jam and ground almonds while retaining the layered pastry and chocolate glaze.
Why Is It Called Zserbó?
The cake is associated with the Gerbeaud tradition in Hungary and with pastry chef Émile Gerbeaud, who settled in Hungary in the nineteenth century.
How Thin Should I Roll the Pastry?
Aim for approximately 3 mm (⅛ inch).
Thin pastry is important because it allows the layers to soften against the jam and produces the characteristic texture of Zserbó.
How Many Pastry Layers Are There?
There are four pastry layers, separated by three layers of raspberry and almond filling.
Why Do I Prick the Top with a Fork?
The holes allow steam to escape while the cake bakes and help prevent the top pastry layer from puffing excessively.
Why Is the Cake Turned Upside Down Before Glazing?
The underside of the baked cake tends to be flatter and smoother, giving you a better surface for the chocolate glaze.
Can I Make Traditional Zserbó Instead?
Yes. Replace the raspberry jam with apricot jam and the ground almonds with ground walnuts.
Can I Use Another Jam?
Yes. The recipe works with different jams, although I recommend choosing one with plenty of fruit flavour rather than something overly sweet.
How Long Does Raspberry Zserbó Take to Make?
Allow around 1 hour 35 minutes minimum from start to finish. This includes 25 minutes preparation, 45 minutes resting and chilling, and at least 25 minutes baking. Depending on your oven, the bake may take up to 30 minutes.
How Long Should Raspberry Zserbó Bake?
Bake for 25–30 minutes, beginning your check after 25 minutes. The pastry should be evenly golden brown.
Tools You’ll Need
- Medium mixing bowl
- Baking parchment
- Fork
- Heatproof bowl
- Small saucepan
- Spatula
- Wire cooling rack or chopping board
- Long serrated knife
- Digital kitchen scales
- Rolling pin – I love this rolling pin! The removable guide rings make it much easier to roll biscuit dough, pizza dough and flatbreads to an even thickness, giving you consistent results every time.
- Large mixing bowl or food processor- I recommend the 29 cm Mason Cash cream earthenware mixing bowl because it is sturdy, chip-resistant and has a generous four-litre capacity, making it ideal for everything from cake batters to bread doughs. It is also microwave, freezer and dishwasher safe. You can find this bowl and more of my favourite kitchen tools in my Amazon Baking Essentials collection.
- Baking Tray, 45 × 30 × 2 cm – I recommend this tray when I don’t need to use the much larger baking tray that came with my oven. At 45 × 30 cm, it is a really useful size for smaller batches of biscuits, pastries and other bakes, and it fits my silicone baking mat nicely. It is one of those practical pieces of equipment that I reach for whenever the full-size oven tray feels unnecessarily large.
Storage and Freezing
Storing
Keep the Raspberry Zserbó in the refrigerator for 4–5 days.
Remove it from the fridge approximately 1 hour before serving so the pastry, filling and chocolate can return towards room temperature.
Freezing
The cake can be frozen, but I recommend freezing it without the chocolate glaze.
Allow it to defrost at room temperature, then add the freshly prepared chocolate glaze and slice once it has set.
Nutrition
Serving: one slice, based on 21 servings
Calories 213.86 kcal (11%)
Total Fat 9.84 g (14%)
Carbs 28.1 g (11%)
Sugars 14.56 g (16%)
Protein 3.09 g (6%)
Sodium 38.67 mg (2%)
Fiber 1.27 g (5%)
% Daily Values based on a 2,000-calorie diet.
Nutrition information is provided as an estimate and may vary depending on the exact ingredients, brands and serving size used.
Raspberry Shortcake (Zserbó)
INGREDIENTS LIST
- 250 g plain flour (all-purpose)
- 100 g butter
- 75 g icing sugar (US powdered sugar)
- 1 tsp baking powder
- 1 pinch fine sea salt
- 1 tsp lemon zest (optional)
- 1 medium egg yolk (20g total)
- 1 tsp pure vanilla extract or 1/4 tsp of vanilla paste
- 75 ml milk
Jam filling
- 350 g raspberry jam
- 100 g ground almonds
Chocolate glaze
- 100 g dark chocolate (minimum 50% cocoa solids)
- 30 g butter
- 1 tbsp honey (Alternatives: corn syrup, golden syrup or maple syrup)
Preparation
- In a large mixing bowl, rub the butter into the flour, using your fingertips and thumbs take small amounts of the mixture and rub together. Keep rubbing in until the mixture looks like breadcrumbs.
- Stir through the sugar, baking powder, salt, lemon zest, egg yolk, vanilla and milk.
- Mix all the ingredients together to form a dough.
- Leave to rest for 15 minutes on the side.
- Line a baking pan 20 x 30cm (8 x 12inches) or a baking tray with baking parchment.
- Filling: While the dough is resting, mix the filling ingredients together in a medium bowl.
- After the dough has rested, divide it into 4 equal pieces (approximately, and roll out each piece thinly (3mm / 1/8inch) into a rectangle to fit the baking pan or tray. (If you don't have space on your work surface, you can roll them out as required.)
- Lay the first piece of rolled dough into the pan or tray and spread 1/3 of the filling over the top.
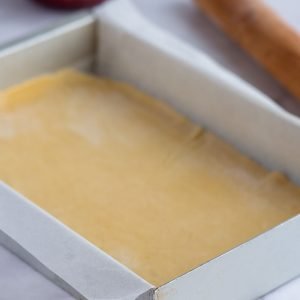
- Place another piece of rolled out dough on the top and spread another layer of filling over the top.

- Repeat this one more time with the dough and filling.
- Place the final layer of dough on top and prick all over the top with a fork. This allows the steam to escape so that the dough doesn't puff up in the oven too much.
- Place in the fridge to rest for 30 minutes.
- Preheat the oven to 180°C fan / 400°F / Gas 6.
- Baking: Place on the middle shelf of the oven and bake for 25-30 minutes until golden brown.
- Once baked, remove from the oven and leave to cool.
- Glaze: Place the chocolate into a heatproof bowl set over a saucepan of simmering water (not boiling and do not let the base of the bowl touch the water) to melt.
- When the chocolate has melted, remove from the heat and stir in the butter and honey. Stir until smooth and then let the mixture cool slightly (5 minutes).
- Place a wire rack or chopping board over the top of the cake and turn it out and over so that the cake's bottom is now on the top.
- Pour the chocolate glaze over the cake, spreading it out evenly and then leave to set. If the glaze sets before you are ready to use it, gently melt it over a very low heat.
- Cutting and serving: I usually cut the edges off to get nicer slices. The pastry shrinks slightly away from the edge, but if this does not worry you then you don't need to do this. Cut the cake into portions with a long serrated hot knife.
FROM MY KITCHEN TO YOURS
Made this recipe?
I would love to hear how it turned out. Leave a comment and add a star rating to help other home cooks discover the recipe.
A recipe worth keeping
Save this recipe for another day
Pin it to one of your boards and keep it close for the next time you are ready to cook or bake.
Save to PinterestKeep cooking
You may also like
 Recipe
Chocolate Chia Pudding
A creamy vegan chocolate chia pudding topped with rich hazelnut fudge sauce for a simple, satisfying dessert or breakfast.
View recipe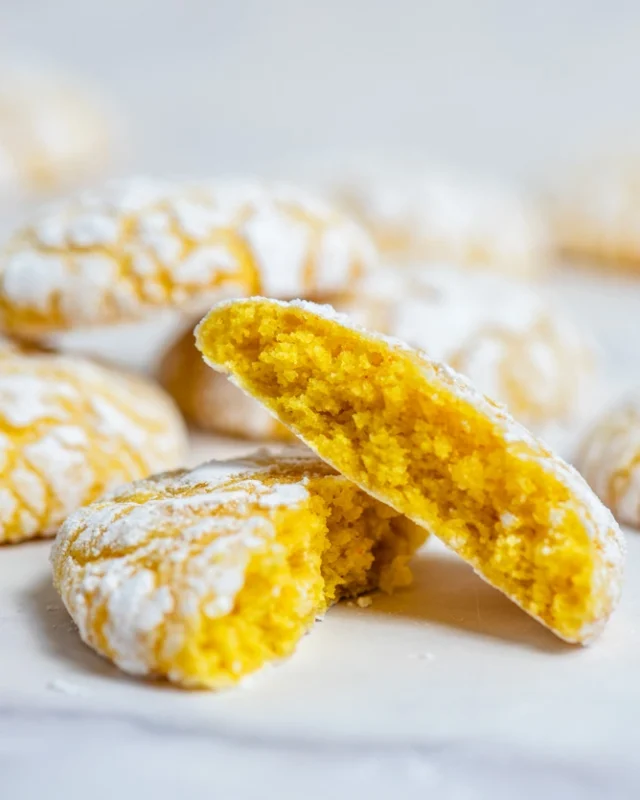 Recipe
Lemon Crinkle Cookies
Soft lemon crinkle cookies with snowy cracked tops and a bright, refreshing citrus flavour.
View recipe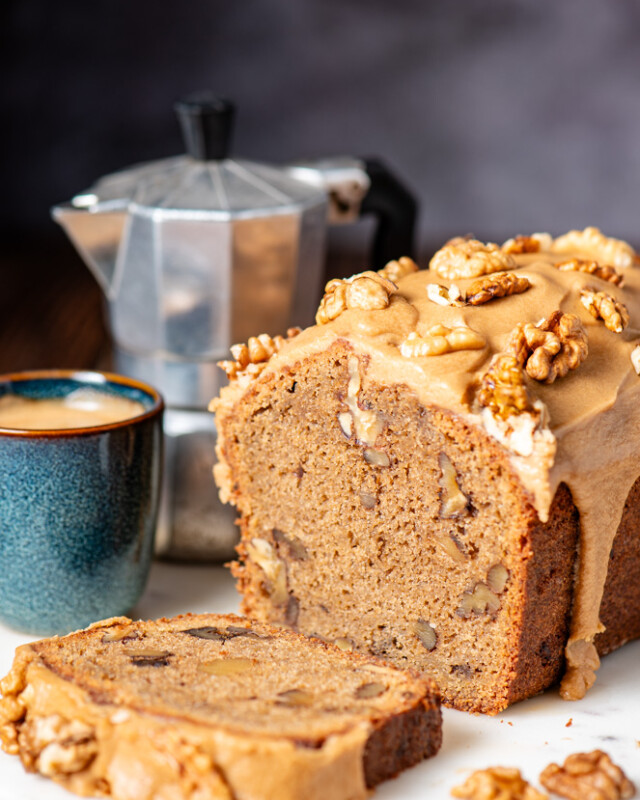 Recipe
Coffee & Walnut Loaf Cake
A moist coffee and walnut loaf cake finished with a smooth espresso and vanilla glaze.
View recipe
Around the table
Questions and kitchen notes
Made this recipe? Leave a rating and tell me how it turned out. Your questions and tips may also help the next person making it.