
From Nigel's Kitchen Table
Brioche Burger Buns
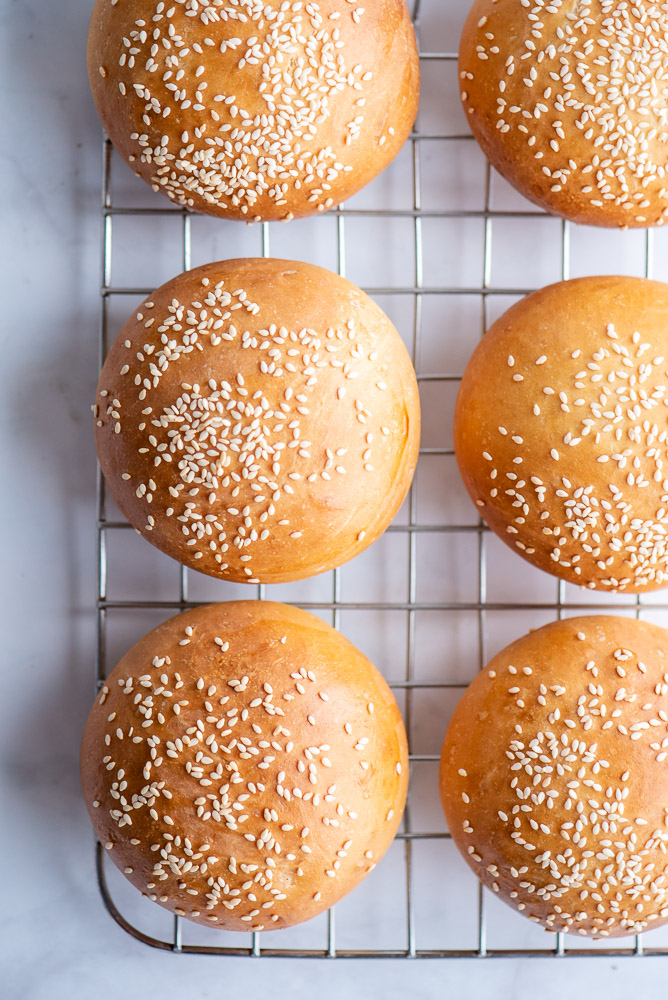
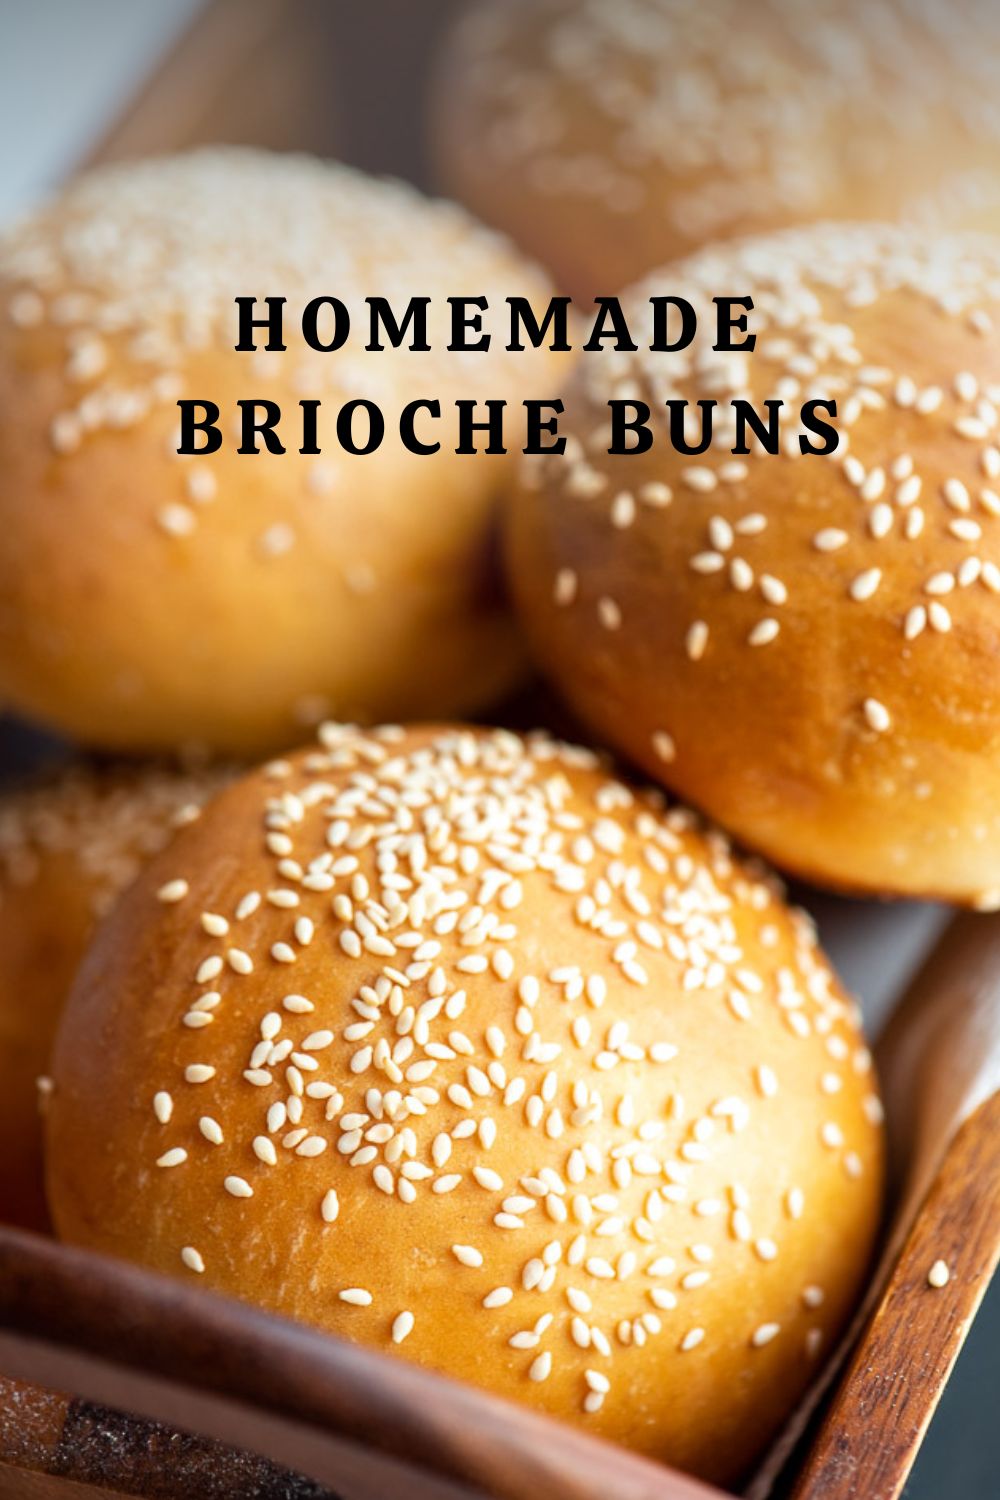
Soft, fluffy homemade brioche burger buns with a rich, tender crumb and glossy golden tops.
Navigate the recipe
On this page
The recipe, step by step
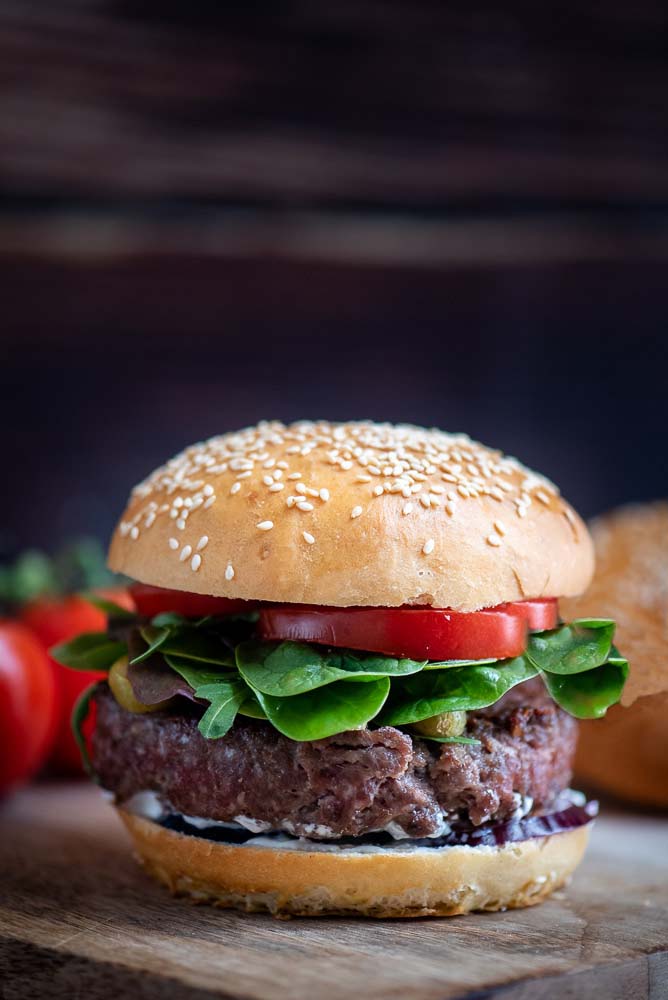
These homemade brioche burger buns are incredibly soft, light and fluffy—and much easier to make than you might think. Nothing quite compares to a freshly baked bun filled with your favourite burger, caramelised onions, crunchy lettuce, sliced tomato and a few pickled gherkins.
With the weather warming up, we decided to have a barbecue here in Hungary. A juicy homemade burger is always a family favourite, and I love serving them in these soft, buttery buns. You absolutely have to give them a try!
The dough is particularly easy to prepare with a stand mixer, although you can also knead it by hand. It is meant to be very soft and sticky, so don’t be tempted to keep adding flour. Stick with it—the dough becomes smoother and easier to handle as the gluten develops. Adding too much flour will make the finished buns heavy and tough rather than light and fluffy.
The flavour possibilities are almost endless too. Take a look at the variations below for cheese, onion and herb burger buns.
The next time you are grilling burgers, elevate your barbecue with a batch of these homemade brioche buns. They also freeze beautifully, so you can prepare a couple of batches in advance and keep your freezer ready for the next sunny weekend.
If you enjoy making these burger buns, you may also like my homemade pita bread and naan bread recipes.
Why You’ll Love These Brioche Burger Buns
- Incredibly soft and fluffy
- Rich, buttery flavour
- Easy to make with a stand mixer or by hand
- Strong enough to hold a generously filled burger
- Easy to customise with cheese, onion or herbs
- Perfect for barbecues and summer meals
- Suitable for preparing in advance
- Freezer-friendly
Recipe Highlights
- Ease: Simple. The dough requires a little patience while it rises, but the preparation itself is straightforward.
- Taste: Deliciously rich and buttery.
- Texture: Light, soft and fluffy.
- Serving suggestion: Perfect for burgers at a summer barbecue.
- Quantity: Six brioche burger buns.
Ingredients for Brioche Burger Buns
For these homemade brioche burger buns, you will need the following ingredients:
- Milk – Milk is one of the key ingredients in this enriched dough. It adds moisture, flavour and softness, helping to create a tender crumb. Use milk at the temperature specified in the recipe. It should not be excessively hot, as high temperatures can damage the yeast.
- Fresh or Dried Yeast – Yeast ferments some of the available sugars and releases carbon dioxide. As the dough develops, its gluten network traps these gas bubbles, causing the dough to expand and giving the finished buns their light, airy texture. Check that your yeast is still within its expiry date before beginning.
- Strong White Bread Flour – Strong white bread flour has a higher protein content than plain or all-purpose flour. When mixed with liquid and kneaded, these proteins form gluten, which gives the dough strength and elasticity. -This allows the dough to hold the gas produced by the yeast and helps create soft, well-risen buns. Plain or all-purpose flour may also work, although the finished buns may be slightly less chewy and structured.
- Fine Sea Salt – Salt enhances the flavour of the butter, milk and other ingredients while balancing the slight sweetness of the dough. It also helps strengthen the gluten structure. Measure it carefully and avoid placing it directly on top of the yeast before mixing.
- Caster or Granulated Sugar – Sugar adds a subtle sweetness, supports the activity of the yeast and encourages the buns to develop a beautifully golden crust.
- Butter – Butter is another essential part of this enriched dough. It gives the buns their rich flavour, tender crumb and soft texture. Use softened butter so that it incorporates evenly into the dough.
- Egg – Egg adds richness, flavour and structure. It also helps produce the soft, tender texture associated with brioche-style bread. The egg wash gives the baked buns their attractive golden, glossy finish.
- Sesame Seeds – Sesame seeds add a subtle nutty flavour and provide a classic decorative finish. They are optional and can be replaced with another suitable topping.
Variations
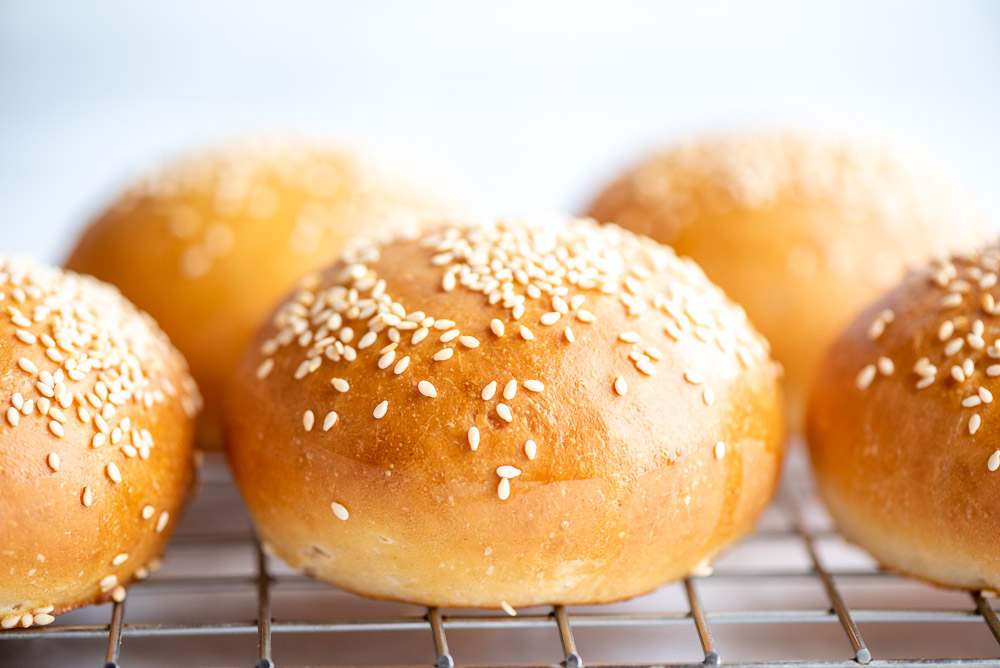
- Brioche Burger Bun Variations – These homemade buns are easy to adapt with different flours, cheeses, herbs and seasonings.
- Wholemeal Burger Buns – Replace up to three-quarters of the white flour with wholemeal flour. Wholemeal flour absorbs more liquid and creates a denser texture, so the dough may feel different from the original version. Avoid adding unnecessary extra flour while kneading.
- Cheese Burger Buns – Add 100 g of grated Cheddar to the flour before mixing the dough. After the final rise, brush each bun carefully with egg wash and top it with approximately one tablespoon of additional grated cheese. Bake according to the recipe instructions.
- Onion Burger Buns – Add one teaspoon of onion powder to the flour before mixing the dough. For even more flavour, add one teaspoon of herbes de Provence or finely chopped rosemary.
- Herb Burger Buns – Add dried or finely chopped fresh herbs to the dough. Rosemary, thyme, oregano and herbes de Provence all work well, particularly when the buns are being served with grilled meat or vegetables.
Alternative Toppings
Instead of sesame seeds, try topping the buns with:
- Poppy seeds
- Nigella seeds
- Mixed seeds
- Grated cheese
- Flaky sea salt
- Dried herbs
Press the toppings gently onto the freshly applied egg wash so that they remain attached during baking.
What to Serve in Brioche Burger Buns
These soft buns are perfect for filling with:
- Beef burgers
- Chicken burgers
- Pulled pork
- Grilled halloumi
- Vegetable patties
- Breaded fish
- Barbecue mushrooms
- Grilled vegetables
Add your favourite sauces, cheese, salad leaves, sliced tomatoes, caramelised onions and pickled gherkins.
Nutrition
Serving: one bun
238.04 kcal
CALORIES · 12% DV
5.2 g
TOTAL FAT · 7% DV
38.95 g
CARBOHYDRATES · 15% DV
2.39 g
SUGARS · 3% DV
8.1 g
PROTEIN · 16% DV
305.2 mg
SODIUM · 15% DV
1.4 g
FIBRE · 5% DV
% Daily Values based on a 2,000-calorie diet
Nutrition information is provided as an estimate and may vary depending on the ingredients and portion size used.
Storage and Freezing
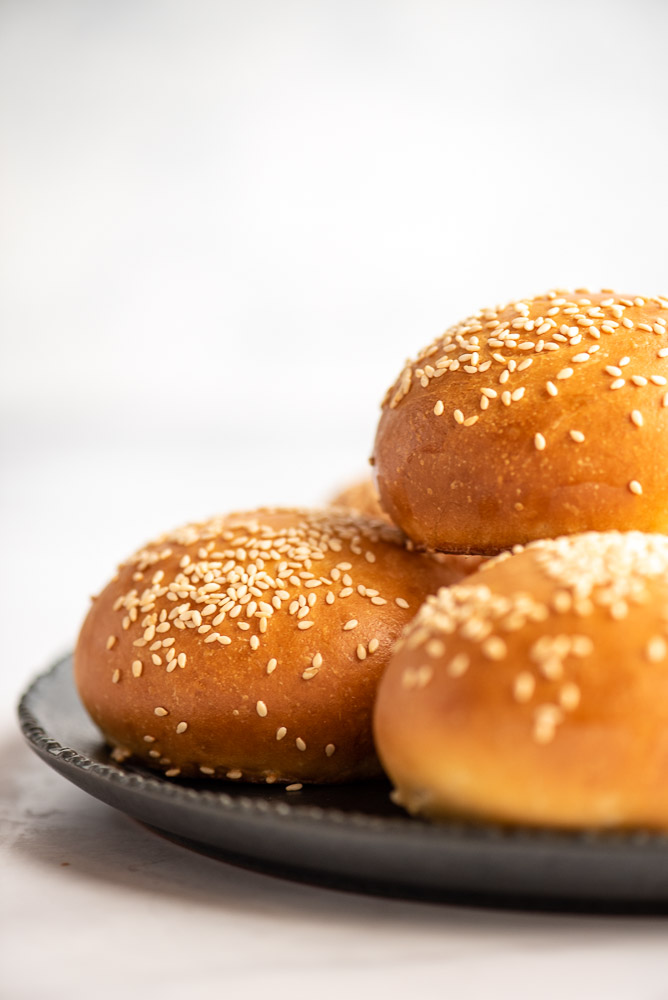
These buns are at their best on the day they are baked, while they are particularly soft and fresh. Once completely cool, store them in an airtight container for one or two days.
When the buns begin to lose some of their freshness, slice them in half and toast them before filling. I often toast mine even when they are fresh, as it adds flavour and helps prevent sauces from soaking into the bread too quickly.
Can You Freeze Brioche Burger Buns?
Yes. These burger buns freeze beautifully for up to two months. Allow them to cool completely before placing them in a freezer-safe bag or airtight container. Remove the required number of buns from the freezer and leave them at room temperature to defrost. They should be ready to use after approximately 30 minutes, depending on their size and the temperature of the room. Slice and toast them briefly before serving if you would like to refresh their texture.
Tools You’ll Need
Here is some of the kitchen equipment I use and recommend for making these brioche burger buns:
- Large baking tray
- Dough scraper
- Baking paper
- Clean tea towel
- Pastry Brush – This brush is both flexible and durable, being able to withstanding extreme temperatures.
- Stand mixer – The KitchenAid Artisan Stand Mixer is certainly an investment, but it is incredibly useful if you bake regularly or often make bread dough.
- Large mixing bowl or food processor- I recommend the 29 cm Mason Cash cream earthenware mixing bowl because it is sturdy, chip-resistant and has a generous four-litre capacity, making it ideal for everything from cake batters to bread doughs. It is also microwave, freezer and dishwasher safe. You can find this bowl and more of my favourite kitchen tools in my Amazon Baking Essentials collection.
- Pyrex Glass Measuring Jug, 1L – I think I have said it before that I am not a big fan of plastic, so I like this type of glass measuring jug for calculating my liquids.
- Baking mat – I love using these 42 × 29.5 cm silicone baking mats because they prevent food from sticking to the baking tray and are incredibly easy to clean. This handy set includes two reusable mats.
- Wire Cooling Rack -I recommend this 40 × 25 cm cooling rack because it is ideal for cooling cakes, biscuits and other freshly baked treats. I find it so useful that I have a couple of them, especially when baking several batches at once. You can find it and more of my favourite baking equipment in my Amazon Baking Essentials collection.
Recipe tips
Avoid Adding Extra Flour
For the softest and fluffiest buns, avoid adding additional flour while kneading unless it is absolutely necessary. This enriched dough is meant to be very soft and sticky. Adding too much flour may make it easier to handle initially, but it will produce heavier, tougher buns. Continue kneading and give the gluten time to develop. The dough should gradually become smoother, stronger and more elastic.
Use a Stand Mixer
A stand mixer fitted with a dough hook makes working with this soft dough much easier. The dough can still be kneaded by hand, but it requires patience. A dough scraper can help you lift and fold the sticky dough without adding more flour.
Knead the Dough Properly
Kneading develops the gluten structure needed to trap the gas produced by the yeast. The dough should eventually become smooth and elastic. It may remain slightly tacky, but it should begin pulling away from the bowl or work surface more cleanly.
Use Room-Temperature Ingredients
Room-temperature milk, egg and butter combine more easily and help the dough rise evenly. The ingredients should not be hot. Excessive heat can damage the yeast and prevent the dough from rising properly.
Allow Both Proves to Finish
These buns require two proves, and both are important. The first develops the dough and allows it to increase in volume. The second takes place after shaping and gives the buns their soft, rounded appearance.
Rising times will vary depending on the temperature of your kitchen. The dough will usually rise faster during warm summer weather and more slowly in a cool room. Watch the dough rather than relying entirely on the clock.
Divide the Dough Evenly
For evenly sized buns, weigh the complete dough and divide the total weight by six. Mine are generally around 85–90 g each, although the exact weight will depend on the final quantity of dough. Equal portions will rise and bake at a similar rate.
Shape the Buns Tightly
Shape each portion into a smooth ball by gently creating tension across its surface. A well-shaped bun will rise more evenly and retain a rounded appearance during baking. Place the shaped buns with the smooth side facing upwards and the seam underneath.
Leave Enough Space Between the Buns
Arrange the buns on the baking tray with enough space for them to expand during the second prove and in the oven. If they are positioned too closely together, they may join as they bake.
Apply the Egg Wash Evenly
Brush the egg wash over the entire visible surface of each bun, including around the sides and close to the bottom.
This creates an even golden colour and helps the sesame seeds stick. Any areas left uncovered may remain pale after baking—as you may notice in some of my photographs. Nobody is perfect!
Brush Gently After Proving
The risen buns will be soft and delicate. Apply the egg wash gently so that you do not knock out the trapped air or cause the buns to collapse.
Avoid Overbaking
Bake the buns until they are evenly risen and golden brown. Overbaking can dry them out and reduce their soft, fluffy texture.
Cool on a Wire Rack
Transfer the baked buns to a wire rack so that air can circulate beneath them. Leaving them on the hot baking tray for too long may cause the bottoms to become damp from trapped steam.
Frequently Asked Questions
Are Brioche Burger Buns Difficult to Make?
No. The method is straightforward, particularly when you use a stand mixer. The main requirements are patience during kneading and allowing enough time for both proves.
Why Is My Dough So Sticky?
Brioche-style dough contains milk, egg and butter, making it softer and stickier than an ordinary bread dough. This is normal. Continue kneading rather than immediately adding more flour.
Can I Knead the Dough by Hand?
Yes. The dough can be kneaded by hand, although it will initially be sticky. Use a dough scraper to lift and fold it, and resist the temptation to cover the worktop with additional flour.
Why Are My Burger Buns Dense?
Dense buns can result from adding too much flour, insufficient kneading, inactive yeast or not allowing the dough to prove fully. Measure the ingredients accurately and give the dough enough time to rise.
How Do I Know When the Dough Has Proved?
The dough should look noticeably larger, soft and aerated. A gentle indentation made with a lightly floured finger should return slowly rather than springing back immediately.
Can I Make the Buns in Advance?
Yes. Bake and cool the buns in advance, then store them in an airtight container for one or two days. For longer storage, freeze them for up to two months.
Should I Toast Brioche Burger Buns?
Toasting is optional, but it adds flavour and helps create a barrier between the soft bread and juicy burger fillings. Slice the buns and toast the cut sides briefly before serving.
Can I Make Smaller Buns?
Yes. Divide the dough into more portions to create smaller slider buns. Smaller buns will bake more quickly, so begin checking them earlier.
Brioche Burger Buns
INGREDIENTS LIST
- 170 ml milk (lukewarm)
- 10 g fresh yeast (3g dried yeast)
- 300 g white bread flour
- 1 tsp fine sea salt (5g)
- 1 tsp caster sugar (5g)
- 20 g butter (at room temperature)
- 1 medium egg
Topping
- 1 tsp sesame seeds (or seeds of your choice)
- 1 tsp cold water*
- 1.5 tbsp butter (melted)
Preparation
- Yeast: If you're using dried yeast, see step 2. For fresh yeast, heat the milk gently in a small saucepan until it reaches body temperature, 37°C / 98°F. You should be able to comfortably put your finger in it and hold it there. (If it's too hot it will kill the yeast) Remove from the heat and stir in the yeast. Set aside until needed.
- In a large mixing bowl or stand mixer fitted with a dough hook, add the flour, salt and sugar. If you are using dried yeast, add the yeast to one side and the sugar and salt to the other.
- In a small bowl, whisk the egg and reserve one tablespoon for the egg wash. Make a well in the centre of the flour and add the remaining egg and yeast mixture.
- Use your hands or a stand mixer to knead the dough to make a smooth, soft dough (approx. 5-8 minutes by hand). The dough will be quite sticky and you might be tempted to add more flour, DON’T DO IT! Add the softened butter, a little at a time, making sure it is completely amalgamated each time. Continue to mix the dough until it is perfectly smooth, 5 minutes in a mixer or 10-15 minutes by hand. It should be glossy, smooth and elastic.
- First proof: Cover with a damp cloth and leave to rise in a dry place for about 1 – 2 hours until it has at least doubled in size. (You can also place it in the oven with it turned off and only the light on.)
- To shape the buns: Gently deflate the dough, divide it into six pieces and shape each piece into a ball.
- Place the balls onto a lined baking tray or silicone mat and flatten each ball with your three middle fingers. This will stop them from being skinny and tall, and more bun shape.
- Second proof: Cover with a damp cloth and let rise again until doubled in size and puffy (approx. 45-60 minutes).
- Preheat the oven 180°C fan / 400°F / Gas 6.
- Add 1 teaspoon of cold water to the egg wash reserved earlier and brush each of the buns. Sprinkle the buns with sesame seeds.
- Baking: Place in the oven for 16-18 minutes, until golden. Remove them from the oven and brush very gently with the melted butter, avoid brushing the seeds off the buns. This will give the buns a satiny, buttery crust.
FROM MY KITCHEN TO YOURS
Made this recipe?
I would love to hear how it turned out. Leave a comment and add a star rating to help other home cooks discover the recipe.
A recipe worth keeping
Save this recipe for another day
Pin it to one of your boards and keep it close for the next time you are ready to cook or bake.
Save to PinterestKeep cooking
You may also like
 Recipe
Chocolate Chia Pudding
A creamy vegan chocolate chia pudding topped with rich hazelnut fudge sauce for a simple, satisfying dessert or breakfast.
View recipe Recipe
Lemon Crinkle Cookies
Soft lemon crinkle cookies with snowy cracked tops and a bright, refreshing citrus flavour.
View recipe Recipe
Coffee & Walnut Loaf Cake
A moist coffee and walnut loaf cake finished with a smooth espresso and vanilla glaze.
View recipe
Around the table
Questions and kitchen notes
Made this recipe? Leave a rating and tell me how it turned out. Your questions and tips may also help the next person making it.