
From Nigel's Kitchen Table
Honeycomb / Cinder Toffee
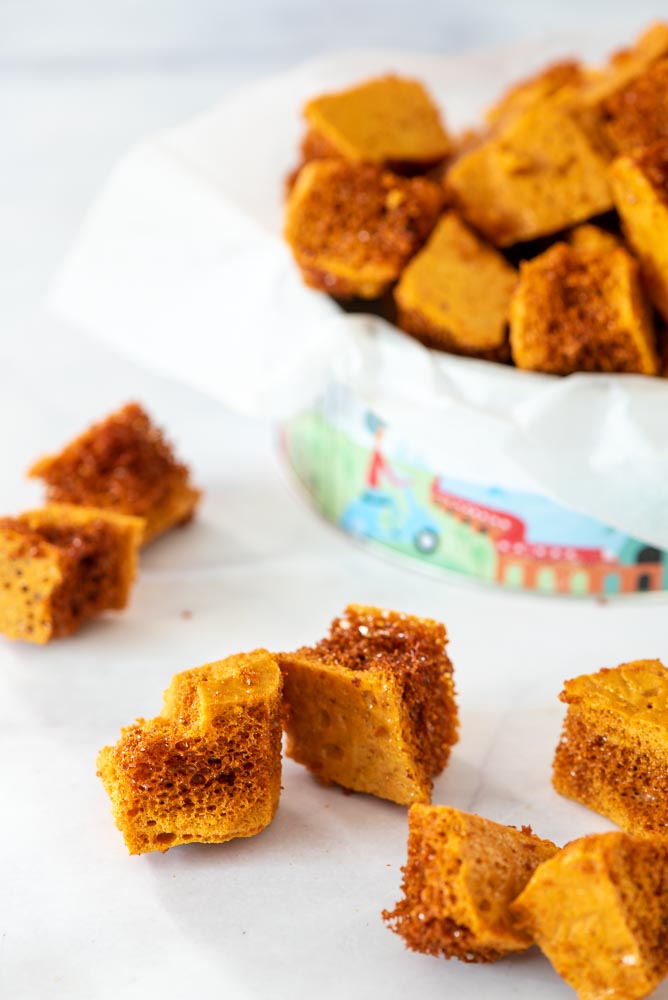
Light, crisp honeycomb or cinder toffee made with just three ingredients and full of caramel flavour.

Navigate the recipe
On this page
The recipe, step by step
This homemade honeycomb, also known as cinder toffee, is one of those recipes that looks far more complicated than it really is. With just a few simple ingredients, you can make crisp, golden pieces of toffee filled with those characteristic bubbles that make honeycomb so light and crunchy.
It has been a British favourite for decades, and many of us know it best from a Crunchie bar. I loved those as a child, and making your own gives you the same wonderful combination of brittle caramel and airy honeycomb — especially when you dip the pieces in chocolate.
Once you’ve mastered it, homemade honeycomb is useful for far more than simply eating by the handful. Break it over ice cream, fold pieces through desserts or use it to decorate cakes. I use it on my Chocolate Fudge Cake, where the crunchy pieces make a lovely contrast to the soft chocolate cake and frosting.
Depending on where you are in the world, you may also know this sweet as sponge toffee, honeycomb candy, fairy food, puff candy, seafoam or hokey pokey. Whatever you call it, the principle is the same: hot caramel is aerated with bicarbonate of soda, creating hundreds of bubbles before the sugar sets hard around them.
Recipe Highlights
- Quick to make: Just 2 minutes preparation and approximately 13 minutes cooking.
- Classic texture: Crisp, brittle and full of airy honeycomb bubbles.
- Simple ingredients: Sugar, honey and bicarbonate of soda form the basic recipe, with sea salt optional.
- Versatile: Eat it as it is, coat it in chocolate or use broken pieces to decorate desserts.
- Quantity: Approximately 50 pieces.
- Cooling: Allow about 1 hour for the honeycomb to cool and set.
- Total time: Approximately 1 hour 15 minutes.
Why You’ll Love Homemade Honeycomb
Honeycomb is a particularly satisfying thing to make because the transformation happens in seconds.
The sugar and honey first cook into an amber caramel. Then, as soon as the bicarbonate of soda is whisked in, the mixture expands dramatically into a mass of golden foam.
As it cools, those bubbles become trapped inside the hardened caramel, giving you the light, crisp, sponge-like structure that makes honeycomb so distinctive.
It is also brilliant for gifting. Break it into irregular pieces and either leave them plain or dip them into melted chocolate.
Ingredients and Substitutions
- Caster sugar: Use 300 g caster sugar. This forms the main structure of the caramel.
- Honey: Use 100 g honey. Honey helps prevent the sugar from crystallising and also contributes flavour. Different honeys will give slightly different results.
- Water: Use 2 teaspoons water when making the caramel.
- Fine sea salt: Add a pinch of fine sea salt, if you like. This is optional but helps balance the sweetness.
- Bicarbonate of soda: Use 3 teaspoons bicarbonate of soda (US baking soda). Have it measured and ready before you begin because you need to add it very quickly once the caramel reaches the correct stage.
Can I Replace the Honey?
Golden syrup, glucose or corn syrup can be used instead of honey. Honey gives you the additional opportunity to change the flavour slightly depending on the variety you choose. Rapeseed, blossom, wildflower, sunflower and heather honey will each bring something a little different.
How to Make Honeycomb / Cinder Toffee
1. Prepare the tin: Line and lightly grease a 20 cm / 8-inch square baking tin with baking or parchment paper.
2. Measure the bicarbonate of soda: Have the 3 teaspoons bicarbonate of soda measured and sitting beside the cooker before you start. Once the caramel is ready, you will need to work quickly.
3. Start the caramel: Add the 300 g caster sugar, 100 g honey and 2 teaspoons water to a tall, medium-sized heavy-based saucepan. Attach a sugar thermometer if you are using one.
4. Dissolve the sugar: Place the saucepan over medium heat and allow the mixture to bubble until the sugar has completely dissolved. If necessary, stir gently with a heatproof spatula. Avoid splashing sugar crystals onto the sides of the saucepan, as these can encourage crystallisation.
5. Cook to hard-crack stage: Once the sugar has completely melted, increase the heat slightly and simmer for approximately 8–12 minutes, until the caramel becomes amber coloured. Avoid stirring during this stage. If using a sugar thermometer, cook until it reaches 149°C / 300°F, known as the hard-crack stage.
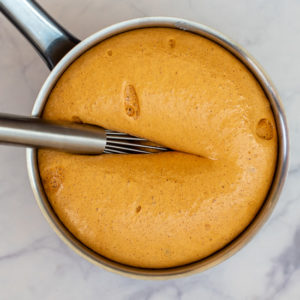
6. Add the bicarbonate of soda: Working quickly, tip in the bicarbonate of soda and whisk for only 3–4 seconds, until it has disappeared into the caramel and the mixture is foaming.
Important: The mixture will expand very rapidly and the caramel is extremely hot, which is why a tall saucepan is essential.
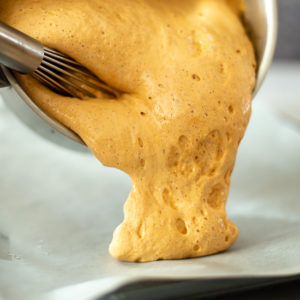
7. Pour immediately: As soon as the mixture has expanded, pour it straight into the prepared pan as quickly as possible.
8. Leave to cool: Allow the honeycomb to cool completely for approximately 30–60 minutes without disturbing it.
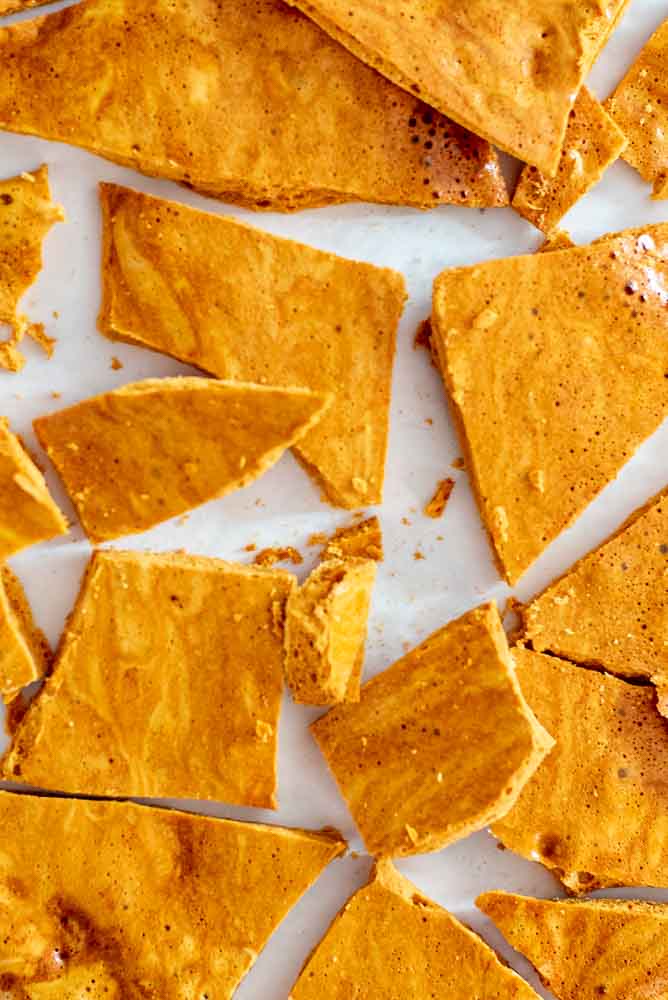
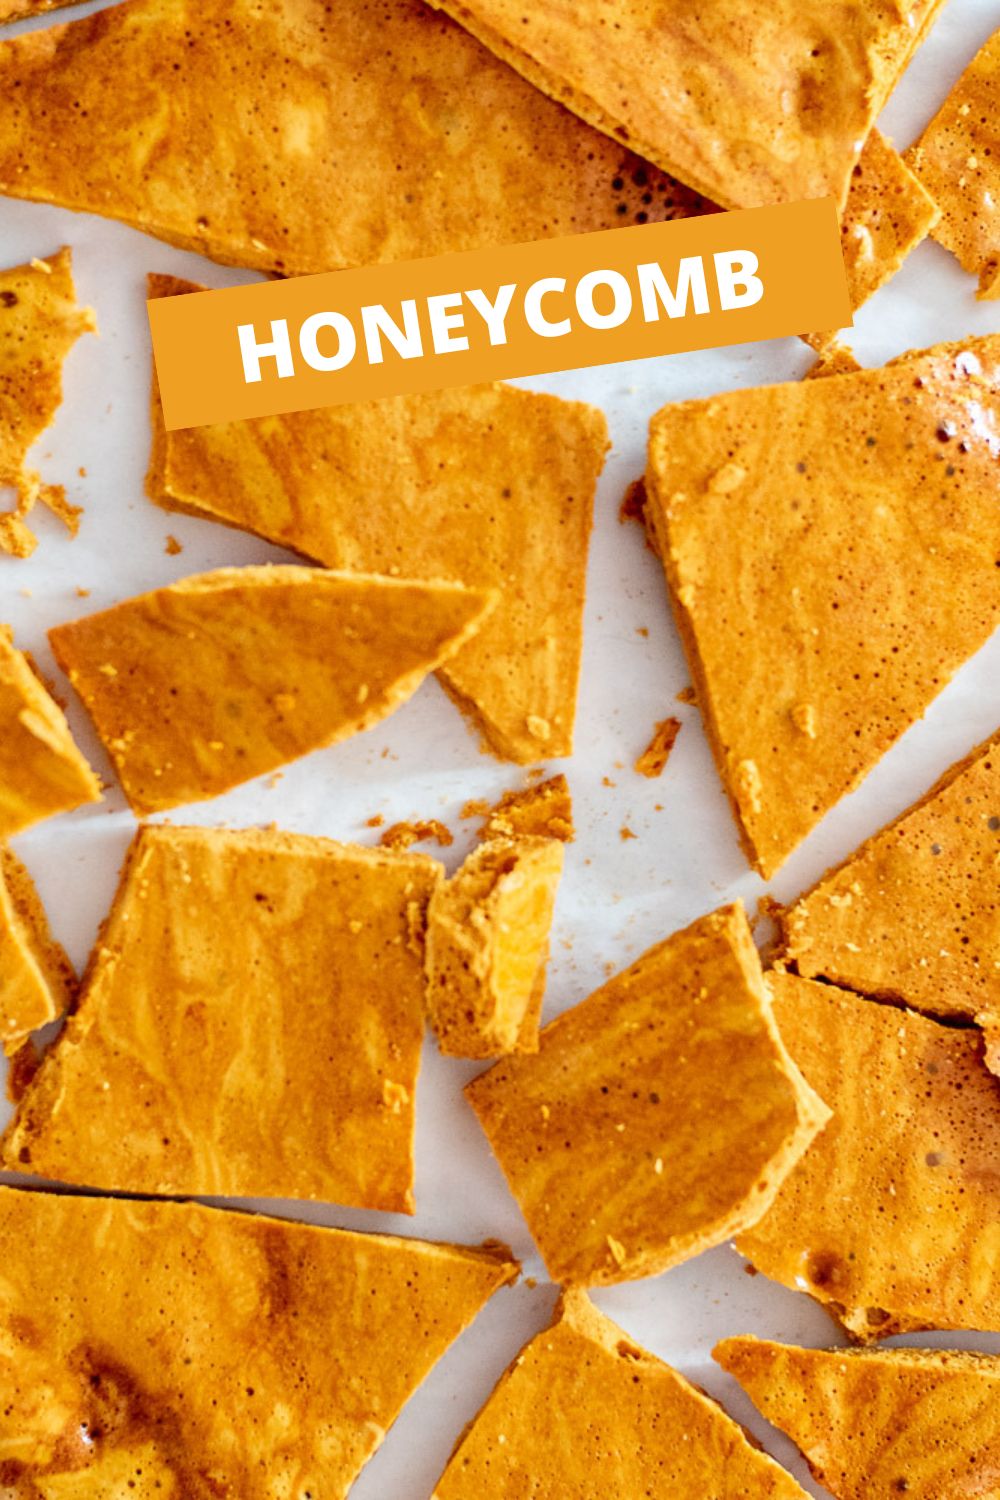
9. Break into pieces: Once completely cold and hard, remove it from the pan and break it into irregular pieces.
Optional Chocolate Coating
10. Melt the chocolate: Place chopped chocolate in a heatproof bowl set over a saucepan of gently simmering water. Make sure the base of the bowl does not touch the water.
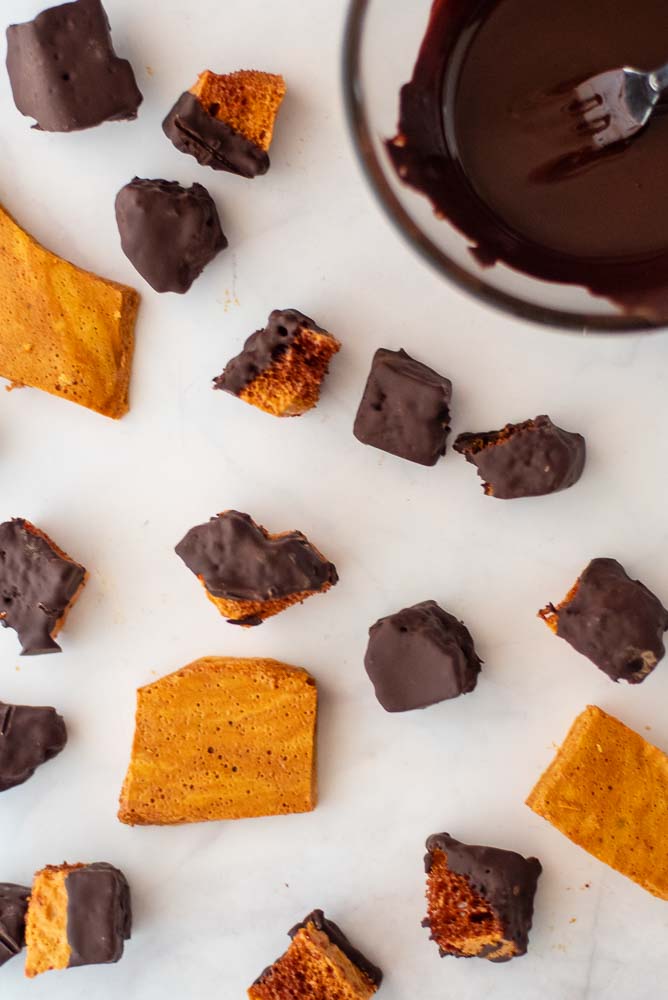
11. Dip the honeycomb: Once the chocolate has melted and is smooth, dip the honeycomb pieces into it.
12. Leave to set: Place the chocolate-coated pieces on a wire rack or sheet of greaseproof paper until the chocolate has set.
Nigel’s Recipe Tips
Prepare Everything Before You Start
This is the most important part of making honeycomb. Line the pan, measure the bicarbonate of soda and have your whisk and heatproof spatula ready before the sugar goes onto the heat.
Once the caramel reaches the right temperature, there is no time to start looking for equipment.
Use a Tall, Heavy-Based Saucepan
The mixture expands dramatically when you add the bicarbonate of soda. A saucepan that looks comfortably oversized before you begin will suddenly make perfect sense when the caramel foams upwards.
Watch the Caramel Constantly
Do not walk away from the saucepan. Sugar can go from golden caramel to burnt very quickly, particularly towards the end of cooking.
Use the Temperature as Your Guide
For reliable honeycomb, aim for 149°C / 300°F, the hard-crack stage. Removing the caramel too early can leave the finished honeycomb sticky rather than crisp.
Avoid Unnecessary Stirring
Once the sugar has dissolved and the caramel is cooking, avoid stirring it. Stirring can encourage sugar crystals to form and give the honeycomb a grainy texture.
Whisk the Bicarbonate Briefly
You only need around 3–4 seconds. Whisk until the bicarbonate has disappeared, then stop. You want to preserve as much of that expanding foam as possible.
Pour — Don’t Spread
Once the honeycomb has been poured into the tin, leave it alone. Trying to smooth or spread the mixture can knock out the bubbles you’re trying to preserve.
Choose the pan for the Thickness You Want
A 20 cm square tin creates thicker honeycomb. For thinner pieces, you can pour the mixture onto a larger lined baking tray. Place another sheet or tray underneath in case the rapidly expanding mixture overflows.
Variations
Salted Honeycomb
Sprinkle a small amount of sea salt over the honeycomb immediately after pouring it into the pan. The salt cuts through the sweetness particularly well if you are planning to coat the pieces in chocolate.
Chocolate-Coated Honeycomb
Dip some or all of the cooled pieces in melted dark or milk chocolate. You can coat one end or cover each piece completely.
Different Honeys
Changing the honey is one of the easiest ways to alter the flavour without changing the recipe. Try rapeseed, sunflower, blossom, wildflower or heather honey.
Golden Syrup Honeycomb
Replace the honey with golden syrup for a more traditional caramel-like flavour.

Frequently Asked Questions
Why Has My Honeycomb Gone Sticky?
The caramel may not have reached a high enough temperature before the bicarbonate of soda was added. Aim for 149°C / 300°F, then store the cooled honeycomb in a properly sealed container, away from moisture.
Humidity can also soften honeycomb very quickly.
Why Is My Honeycomb Bitter?
The caramel has probably cooked for too long or become too dark. You want a good amber colour, but once it begins heading towards very dark brown it can quickly develop a burnt flavour.
Do I Need a Sugar Thermometer?
You can make honeycomb without one, judging the caramel by colour, but a sugar thermometer makes it considerably easier to know when you have reached the correct hard-crack stage.
Why Did My Honeycomb Not Rise?
Make sure the bicarbonate of soda is fresh and measured before you begin. Once it is added, whisk briefly and pour immediately. Working too slowly allows the foam to begin collapsing before it reaches the tin.
Can I Stir the Caramel?
Stir gently while initially dissolving the sugar if necessary. Once everything has melted and the caramel is cooking towards hard-crack stage, avoid stirring.
Can I Make Thin Honeycomb Instead?
Yes. Pour the mixture onto a larger lined baking tray rather than the 20 cm square pan. The wider surface area will produce thinner pieces.
Tools You’ll Need
- Tall, heavy-based saucepan
- 20 cm / 8-inch square baking pan
- Baking or parchment paper
- Heatproof spatula
- Whisk
- Sugar thermometer
- Digital kitchen scales
- Wire rack, if coating with chocolate
- Heatproof bowl and saucepan for melting chocolate
Storage and Freezing
Storing
Once completely cool, store the honeycomb in a properly airtight container, separating layers with baking or parchment paper.
Exposure to air and moisture gradually makes honeycomb sticky and soft, so the quality of the container makes a significant difference.
For smaller quantities, I find a tightly sealed glass jar particularly useful.
Stored properly, the existing recipe guidance gives a maximum of up to 2 months.
Refrigerating and Freezing
Do not store honeycomb in the refrigerator or freezer.
The additional moisture encourages the sugar to soften and become sticky.
Nutrition
Serving: One piece (approximately 1/50 of the recipe)
Calories 29.3 kcal (1%)
Total Fat 0 g (0%)
Carbs 7.65 g (3%)
Sugars 7.63 g (8%)
Protein 0.01 g (0%)
Sodium 48.14 mg (2%)
Fiber 0 g (0%)
% Daily Values based on a 2,000 calorie diet
Nutrition information is provided as an estimate and may vary depending on the ingredients and portion size used.
Honeycomb / Cinder Toffee
- 20cm / 8inch square baking pan
INGREDIENTS LIST
- 300 g caster sugar
- 100 g honey
- pinch of fine sea salt (optional)
- 3 tsp bicarbonate of soda / baking soda
Preparation
- Line and grease a 20cm (8inch) square pan with baking/parchment paper. *See notes.
- Prepare the bicarbonate of soda and place it to one side for later.
- In a tall, medium sized heavy based saucepan, add the sugar, honey and 2 tbsp of water and place the sugar thermometer to the side. Put it on a medium heat until all of the sugar has dissolved. Try not to let the mixture bubble until the sugar has disappeared and if you need to give it a stir, use a heat-proof spatula. Scrape down the sides of the pan if the sugar comes up, as sugar crystals are your enemy and will cause it to be grainy. Be extra careful, as it will be extremely hot.
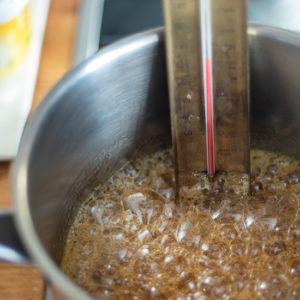
- Once completely melted, turn up the heat slightly and simmer for 8-12 minutes, until you have an amber coloured caramel. (Avoid stirring as it will create sugar crystals.) If you have a sugar thermometer, you want it to reach 149°C / 300°F, also known as hard crack.
- Then as quickly as you can, tip in the bicarbonate of soda and whisk for 3-4 seconds, until it has all disappeared and the mixture is foaming. Be careful, as it will bubble up and expand quickly.
- Immediately, pour into your lined, greased pan as quickly as possible. Leave to cool fully for about 30-60 minutes.
- Once cool, remove from the pan and break it into lots of pieces.
- Chocolate coating: Melt some chocolate in a small heatproof bowl over a pan of simmering water. Make sure the bowl is not touching the water. Once melted, dip your honeycomb into the chocolate and leave to cool on a wire rack or some greaseproof paper. Enjoy.
Notes & Tips
- Pan size – the size of pan will determine the height of your finished honeycomb. I use a 20cm square baking pan for tall honeycomb and a simple lined baking tray for thin honeycomb. I also recommend placing a baking tray/sheet underneath in case the honeycomb overflows.
- Cleaning – fill your empty saucepan with hot soapy water, with any utensils you have used and leave for a few minutes before washing.
FROM MY KITCHEN TO YOURS
Made this recipe?
I would love to hear how it turned out. Leave a comment and add a star rating to help other home cooks discover the recipe.
A recipe worth keeping
Save this recipe for another day
Pin it to one of your boards and keep it close for the next time you are ready to cook or bake.
Save to PinterestKeep cooking
You may also like
 Recipe
Chocolate Chia Pudding
A creamy vegan chocolate chia pudding topped with rich hazelnut fudge sauce for a simple, satisfying dessert or breakfast.
View recipe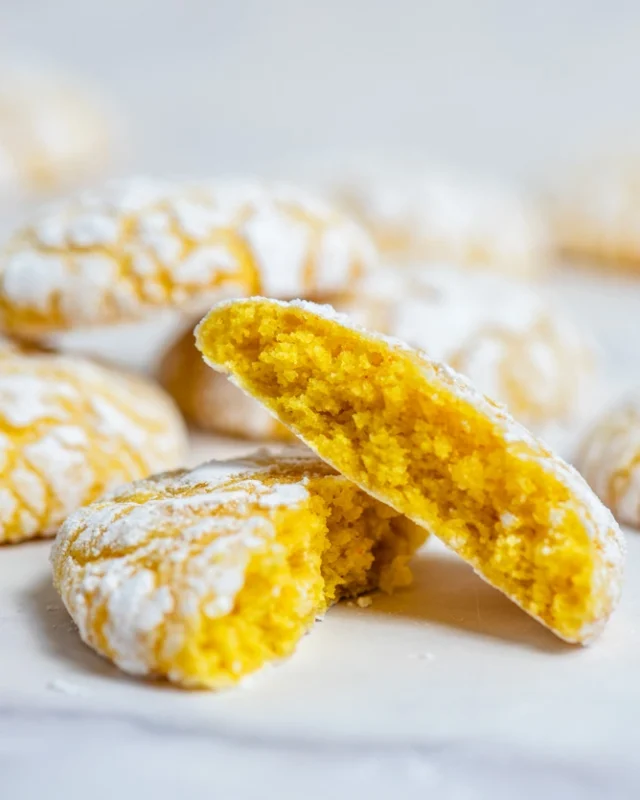 Recipe
Lemon Crinkle Cookies
Soft lemon crinkle cookies with snowy cracked tops and a bright, refreshing citrus flavour.
View recipe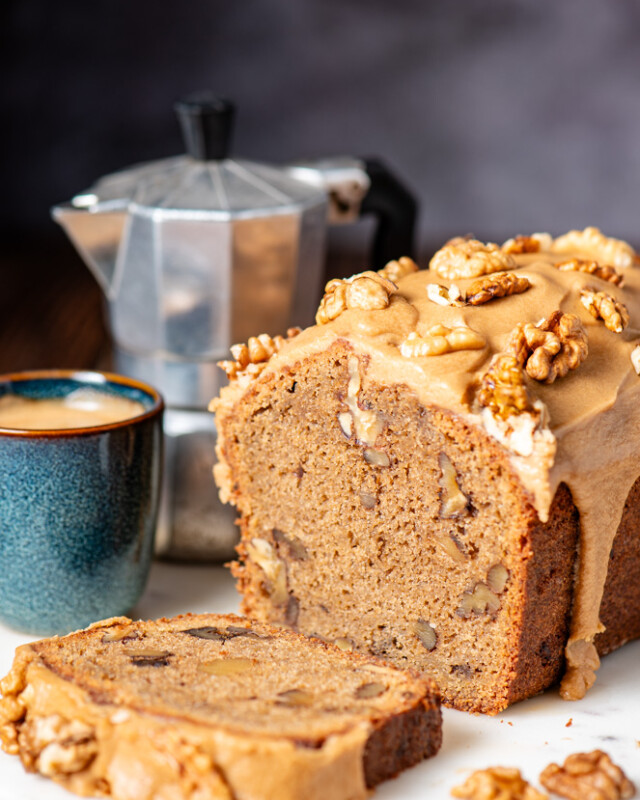 Recipe
Coffee & Walnut Loaf Cake
A moist coffee and walnut loaf cake finished with a smooth espresso and vanilla glaze.
View recipe
Around the table
Questions and kitchen notes
Made this recipe? Leave a rating and tell me how it turned out. Your questions and tips may also help the next person making it.