
From Nigel's Kitchen Table
Classic Chocolate Chip Cookies
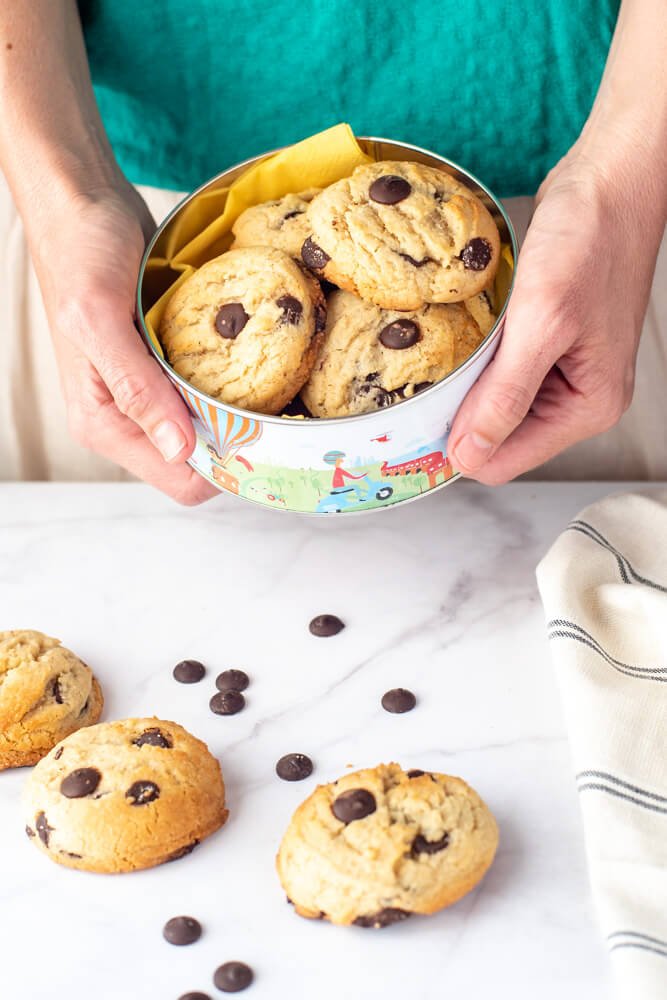
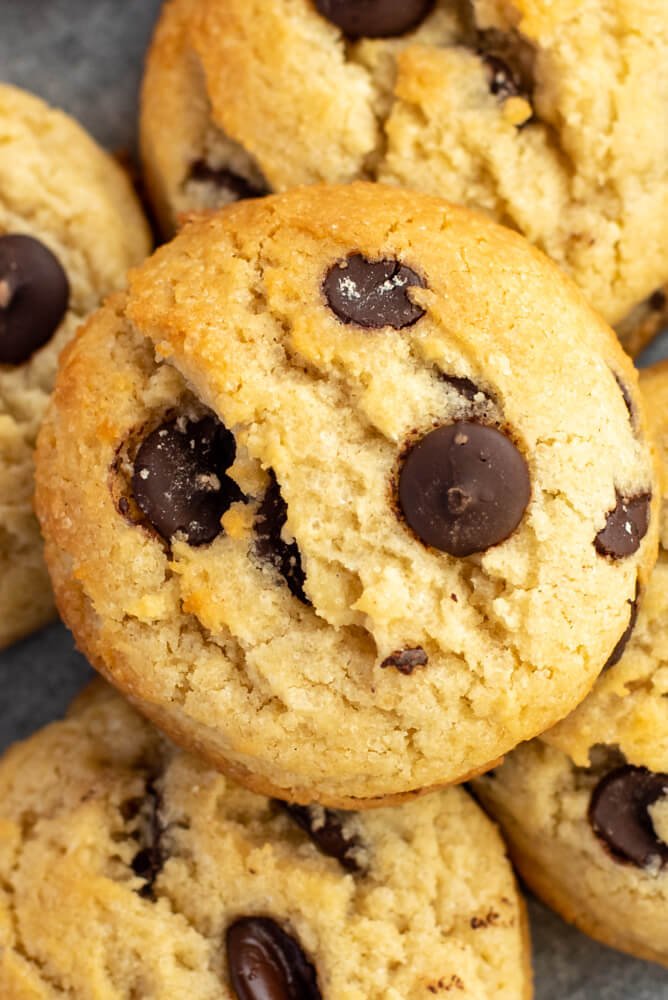
Classic chocolate chip cookies with crisp golden edges, soft chewy centres and generous chunks of dark chocolate.
Navigate the recipe
On this page
The recipe, step by step
These classic chocolate chip cookies are the recipe I come back to when I want crisp golden edges, soft chewy centres and proper chunks of dark chocolate in every bite.
After years of baking cookies, I have tweaked this recipe to get the balance I like: brown sugar for chewiness, caster sugar for those lightly crisp edges, golden syrup to keep the centres soft and plenty of dark chocolate running through the dough.
Chilling the dough is optional, but I recommend giving it at least 30 minutes in the fridge when you have time. It allows the flour to absorb some of the moisture, develops the flavour and chills the butter so the cookies spread more slowly in the oven.
For something a little different, try my Pumpkin Chocolate Chip Cookies or these warmly spiced Homemade Biscoff Biscuits.
Recipe Highlights
- Easy: A simple cookie dough made with everyday ingredients.
- Egg-free: There are no eggs in this chocolate chip cookie recipe.
- Flavour: Buttery, caramel-like and full of vanilla and dark chocolate.
- Texture: Crisp golden edges with soft, chewy centres.
- Flexible: Make 12 generous cookies or divide the portions for smaller ones.
- Make ahead: Chill the dough for 30 minutes or leave it in the fridge overnight.
- Quantity: Makes 12 large cookies.
- Preparation: 10 minutes.
- Baking: Approximately 12–14 minutes.
- Chilling: 30 minutes, optional.
- Total time: Approximately 52 minutes when chilling the dough and baking for 12 minutes.
Ingredients and Substitutions
- Butter: Use 100 g butter, softened to room temperature. It provides richness and helps give the cookies their crisp edges.
- Light brown sugar: Use 140 g. Brown sugar provides moisture, a caramel flavour and contributes to the soft, chewy centre.
- Caster sugar: Use 60 g. This balances the brown sugar and helps create lightly crisp edges.
- Golden syrup: Use 1 tablespoon. I like golden syrup here because it helps keep the texture flexible and chewy. Corn syrup, honey or molasses can also be used, although each will slightly change the flavour.
- Milk: Use 50 g. This gives the dough the moisture it needs without using an egg.
- Vanilla: Use 1 teaspoon pure vanilla extract or ½ teaspoon vanilla paste. Vanilla brings together the buttery caramel flavours and dark chocolate.
- Plain flour: Use 200 g plain or all-purpose flour (BL55).
- Bicarbonate of soda: Use ¼ teaspoon. It provides a small amount of lift while still allowing the cookies to spread.
- Fine sea salt: Use ¼ teaspoon. I highly recommend keeping the salt in the dough. It balances the sweetness and makes the vanilla, caramel and chocolate flavours much more pronounced without making the cookies taste salty.
- Dark chocolate: Use 100 g dark chocolate with at least 50% cocoa solids. Either chop a whole bar into irregular pieces or use chocolate chips.
Nigel recommends
Vanilla Bean Paste
Nielsen-Massey vanilla bean paste adds a rich, rounded vanilla flavour that works beautifully with the brown sugar, butter and dark chocolate in these classic chocolate chip cookies.
 Ingredient
Nielsen Massey
Vanilla Bean Paste
Rich vanilla bean paste with a concentrated vanilla flavour and visible vanilla seeds, ideal for cakes, biscuits, custards, creams and glazes.
Some retailer links may be affiliate links. Recommendations remain editorially independent.
How to Make Classic Chocolate Chip Cookies
1. Cream the butter and sugars: Place the softened butter, light brown sugar and caster sugar in a mixing bowl. Beat together for approximately 3–4 minutes, until light and fluffy.
2. Add the liquids: Add the golden syrup, milk and vanilla and mix until well combined.
3. Add the dry ingredients: Sift the flour, bicarbonate of soda and fine sea salt into the bowl. Mix only until the crumbs just begin to come together.
4. Add the chocolate: Fold in the 100 g chopped dark chocolate or chocolate chips gently, without overworking the dough.
5. Prepare for chilling: Line a plate or small tray that will fit inside your refrigerator with baking parchment.
6. Portion the cookies: Using a 6 cm / 2 tablespoon ice cream scoop or a large spoon, divide the dough into 12 balls and place them on the prepared tray.
For smaller cookies, divide each portion in half or use a 4 cm / 1 tablespoon scoop.
7. Chill the dough: I recommend chilling the shaped cookie dough for at least 30 minutes. You can also leave it in the refrigerator overnight.
The chilling stage is optional, so when you are short of time you can bake the shaped cookies straight away.
8. Preheat the oven: Preheat to 200°C / 180°C fan / 400°F / Gas 6.
9. Arrange the cookies: Place the chilled balls of dough onto a baking tray lined with baking parchment, leaving approximately 5 cm / 2 inches between each one.
I usually bake six cookies per tray in two batches.
10. Flatten slightly: Gently press each ball into a thick puck shape. This helps the cookies begin spreading evenly in the oven.
11. Add extra chocolate, optional: Press a few additional pieces of chocolate into the top of each cookie for that lovely bakery-style finish.
12. Bake: Bake for 12–14 minutes, until the edges are golden brown. Start checking at 12 minutes; they may need another minute or two depending on their size and your oven.
13. Rest on the tray: Leave the cookies on the hot baking tray for 5 minutes after removing them from the oven. They will still be very soft at this stage and will continue to set as they cool.
14. Cool: Transfer the cookies carefully to a wire rack and allow them to cool.
15. Shape for perfectly round cookies, optional: Straight from the oven, place a round cookie cutter slightly larger than the cookie over the top and gently swirl it in a circular motion. This nudges the soft edges into a neat circle.

Nigel’s Recipe Tips
Use properly softened butter. Room-temperature butter creams much more easily with the sugars and helps create the right texture. It should be soft enough to indent with a finger but not melted or greasy.
Cream for the full 3–4 minutes. This incorporates a little air into the mixture and gives the cookies a better texture.
Do not overmix once the flour goes in. Mix only until the dough begins to come together, then gently fold in the chocolate. Overworking the flour can make the cookies tougher.
I recommend chilling the dough. You can bake the cookies immediately, but a 30-minute rest gives the flour time to absorb moisture and chills the fat, which helps control spreading and develops more flavour.
Use chopped chocolate for bigger pockets. Chocolate chips give a very even result, whereas chopping a bar produces different-sized pieces and larger pools of melted chocolate.
Leave enough room between the cookies. They spread as they bake, so around 5 cm / 2 inches between portions prevents them running into each other.
Flatten them only slightly. You are aiming for a thick puck, not a flat disc. The oven will do the rest.
Start checking at 12 minutes. I prefer these cookies with chewy centres, so avoid baking until the middles look completely firm. The cookies continue setting on the hot tray after they come out of the oven.
Let them rest before moving them. Those five minutes on the baking tray are important. Trying to move a freshly baked cookie immediately can cause it to break apart.
Variations
Milk Chocolate Cookies
Replace the dark chocolate with milk chocolate for a sweeter, creamier version.
Mixed Chocolate Cookies
Use a mixture of dark, milk and white chocolate while keeping the total chocolate quantity at 100 g.
Chocolate Chunk Cookies
Rather than chips, roughly chop a chocolate bar. The uneven pieces create small shards alongside larger pools of melted chocolate.
Smaller Chocolate Chip Cookies
Divide each of the 12 large portions in half to make approximately 24 smaller cookies.
Because smaller cookies will bake more quickly, begin checking them earlier rather than automatically using the full baking time.
Bakery-Style Chocolate Chip Cookies
Before baking, press a few extra chunks of dark chocolate into the top of each portion. Once baked, use the round-cookie-cutter trick to give them neat edges.
Frequently Asked Questions
Do I Have to Chill Chocolate Chip Cookie Dough?
No. You can bake the cookies immediately.
However, I recommend chilling the dough for at least 30 minutes whenever you have the time. It improves the flavour and helps control how quickly the cookies spread.
Can I Leave the Cookie Dough in the Fridge Overnight?
Yes. Shape the dough first, cover it and leave it refrigerated overnight, then bake the following day.
Why Are My Chocolate Chip Cookies Spreading Too Much?
The butter may have been too warm or the dough may simply have needed chilling.
Refrigerating the shaped dough before baking firms the butter and slows the initial spread in the oven.
Why Aren’t My Cookies Spreading?
Very cold dough may take slightly longer to begin spreading. Gently flattening each ball into a thick puck before baking helps encourage an even shape.
Should Chocolate Chip Cookies Look Soft When They Come Out of the Oven?
Yes. The centres should still look soft when the edges are browned.
Leave them on the hot tray for 5 minutes and they will continue to set without losing that chewy centre.
Can I Use Chocolate Chips Instead of Chopped Chocolate?
Yes. Both work well.
Chocolate chips give you consistent pieces throughout the dough, while chopped chocolate gives a more irregular, bakery-style finish.
Can I Make Smaller Cookies?
Yes. Divide each large portion in half or use a smaller 4 cm / 1 tablespoon scoop.
Keep a close eye on them because smaller cookies will bake more quickly.
How Do I Get Perfectly Round Cookies?
Immediately after baking, place a cookie cutter slightly larger than the cookie around it and gently move it in a circular motion.
The edges are still soft enough to be moulded into a neat round shape.
Tools You’ll Need
- Large mixing bowl
- Electric hand whisk or stand mixer
- Spatula
- Fine sieve
- 6 cm / 2 tablespoon ice cream scoop or large spoon
- Baking trays
- Baking parchment
- Wire cooling rack
- Round cookie cutter, optional
- Digital kitchen scales
Storage and Freezing
Storing
Allow the cookies to cool completely before placing them in an airtight container.
Keeping the container properly sealed helps prevent the cookies drying out and preserves their chewy centres.
Freezing the Cookie Dough
The unbaked cookie dough can be portioned into balls and frozen for up to 3 months.
Freeze the shaped dough balls on a parchment-lined tray until firm, then transfer them to an airtight freezer-safe container or bag.
Bake the cookie dough directly from frozen, adding a few extra minutes to the baking time if necessary.
Freezing the Baked Cookies
The baked cookies can be frozen for up to 1 month.
Allow them to cool completely before placing them in an airtight container or freezer-safe bag. If stacking them, place baking parchment between the layers to prevent them from sticking together.
When ready to serve, remove the cookies from the freezer and allow them to come back to room temperature before eating.
Nutrition
Serving: 1 cookie (1/12 of the recipe)
Calories: 309.66 kcal · 15% DV
Total Fat: 14.19 g · 20% DV
Carbohydrates: 42.65 g · 16% DV
Sugars: 25.65 g · 28% DV
Protein: 3.14 g · 6% DV
Sodium: 74.7 mg · 4% DV
Fibre: 1.71 g · 6% DV
% Daily Values are based on a 2,000-calorie diet.
Nutritional information is provided as an estimate and may vary depending on the exact ingredients, brands and serving size used.
Classic Chocolate Chip Cookies
INGREDIENTS LIST
- 100 g butter (at room temperature)
- 140 g light brown sugar
- 60 g caster sugar
- 1 tbsp golden syrup (or try corn syrup, honey or molasses)
- 50 g milk
- 1 tsp pure vanilla extract or 1/2 tsp of vanilla paste
- 200 g plain flour (all-purpose) (BL55)
- ¼ tsp bicarbonate of soda / baking soda
- ¼ tsp fine sea salt
- 100 g dark chocolate (minimum 50% cocoa solids) (whole bar chopped or chips)
Preparation
- Cookie dough: In a bowl, cream the butter, and both the sugars together until light and fluffy. Approximately 3-4 minutes.
- Add the golden syrup, milk, vanilla and combine together.
- Sift the flour, salt, and baking soda into the bowl and mix together until the crumbs just start to come together and then add your choice of chopped chocolate or chips and mix in gently.
- Optional: I like to place the cookies in the fridge prior to baking for at least 30 minutes or overnight if possible. This allows the dry ingredients to absorb the moisture from the wet ingredients. Creating more flavour in the dough and because the fats are also chilled it prevents the cookies from spreading out too quickly during baking. If you want to avoid the chilling method, follow the shaping method and then continue from step 7.Prepare a plate or tray that will fit in your fridge, covered with a piece of baking paper. Shaping: Using a 6cm/2 tbsp ice cream scoop or a spoon, scoop out 12 balls of cookie dough onto your prepared plate. If you want to have smaller cookies I divide the balls in half to get double the quantity or use a 4cm/1 tbsp scoop.
- Freezing the dough: At this stage, the dough can also be frozen for baking another day.
- Preheat the oven to 200°C / 180°C fan / 400°F / Gas 6.
- Remove the balls of cookie dough from the fridge and place them on a baking tray lined with baking/parchment paper. Leaving 5cm/2" space between to allow for spreading. I like to push down on the balls to flatten ta little into a puck shape so they can spread more easily. I usually fit 6 pieces per baking tray and bake in two batches.Optionally, you can add some more chocolate pieces to the top of each cookie for that bakery-style look.
- Baking: Bake for 12-14 minutes, until browned around the edges.
- Remove from the oven and let rest on the baking tray for 5 minutes before transferring to a wire rack to cool.
- Optional perfectly uniform cookies: After removing the cookies from the oven, place a cookie cutter over the top of a cookie and use a circular motion to swirl the cookie around the inside of the cutter. This will gently mould the edges into a circle.
FROM MY KITCHEN TO YOURS
Made this recipe?
I would love to hear how it turned out. Leave a comment and add a star rating to help other home cooks discover the recipe.
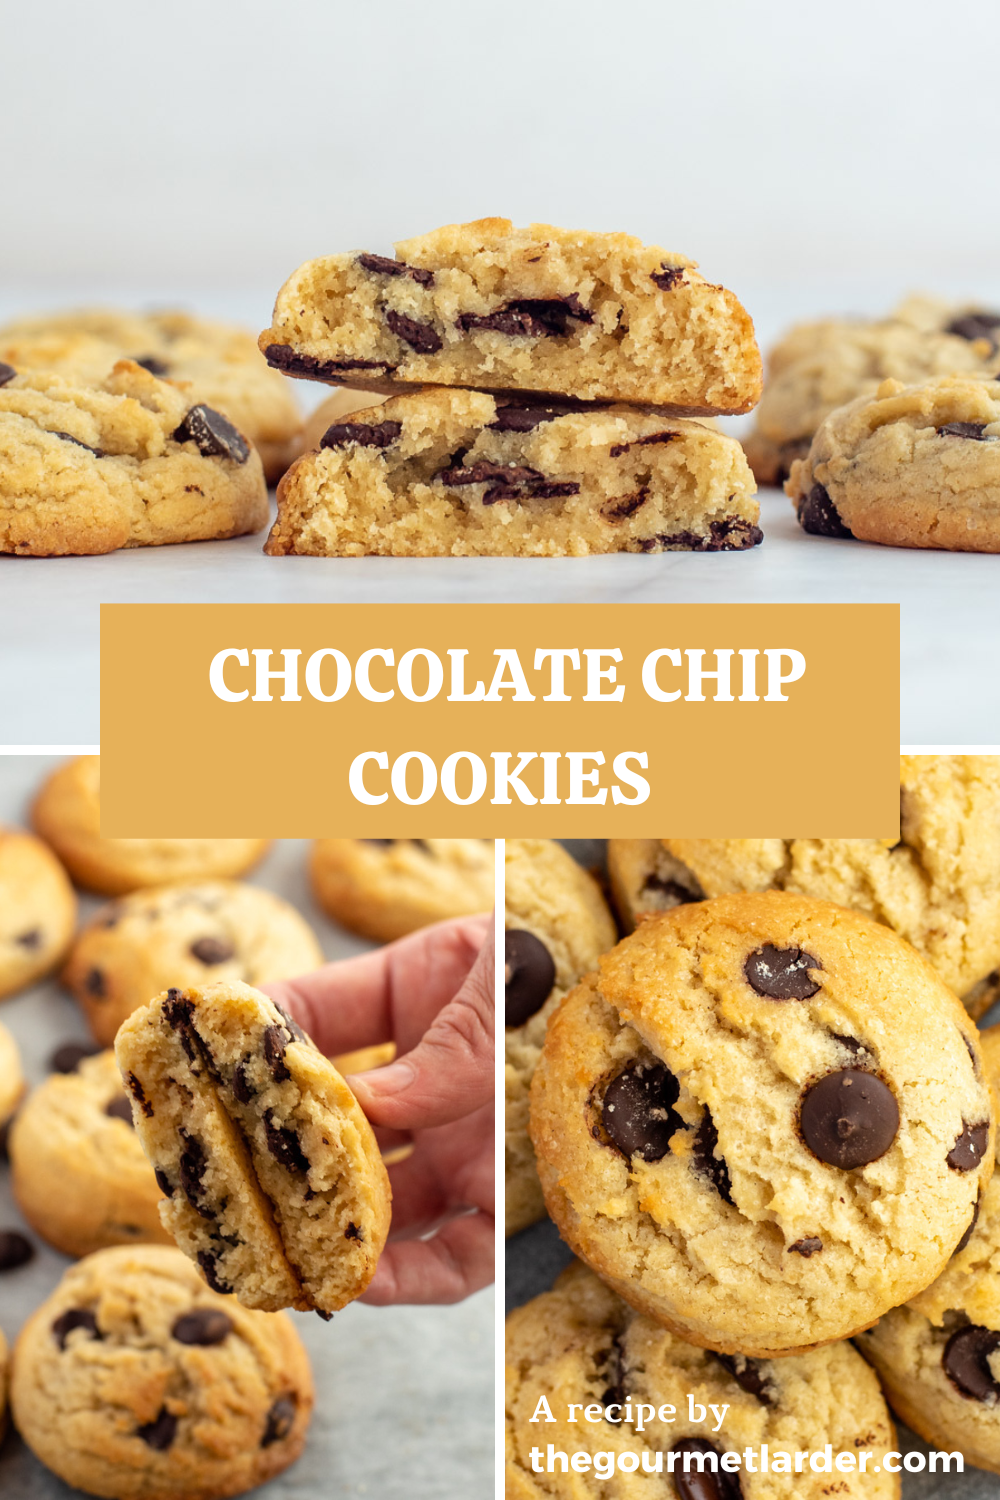
A recipe worth keeping
Save this recipe for another day
Pin it to one of your boards and keep it close for the next time you are ready to cook or bake.
Save to PinterestKeep cooking
You may also like
 Recipe
Chocolate Chia Pudding
A creamy vegan chocolate chia pudding topped with rich hazelnut fudge sauce for a simple, satisfying dessert or breakfast.
View recipe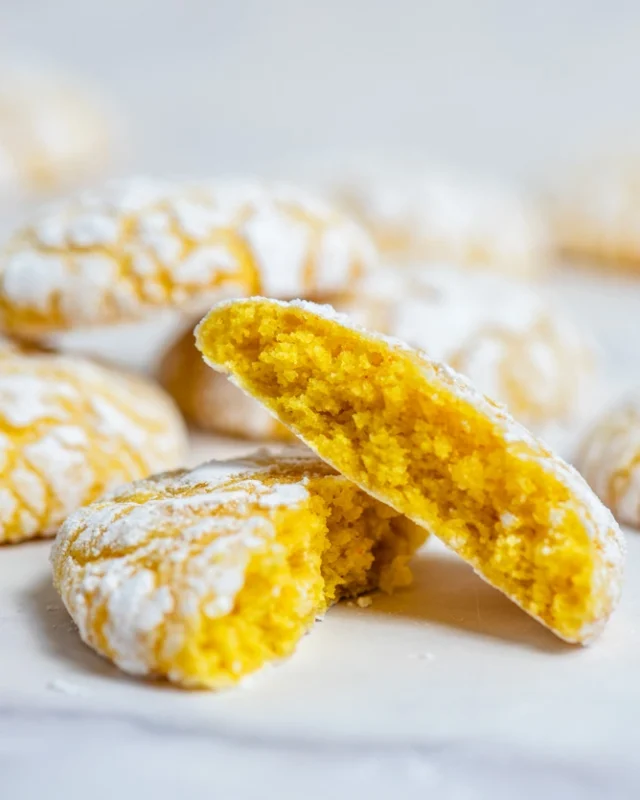 Recipe
Lemon Crinkle Cookies
Soft lemon crinkle cookies with snowy cracked tops and a bright, refreshing citrus flavour.
View recipe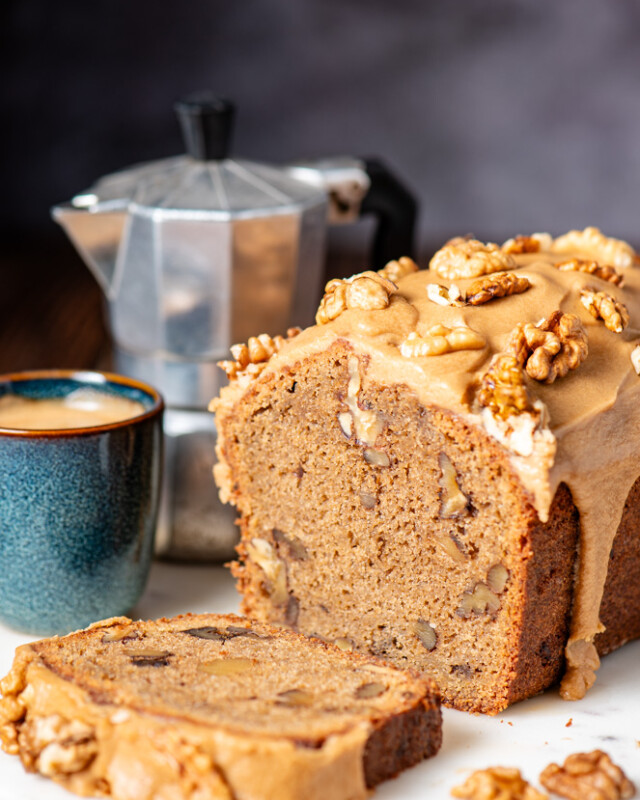 Recipe
Coffee & Walnut Loaf Cake
A moist coffee and walnut loaf cake finished with a smooth espresso and vanilla glaze.
View recipe
Around the table
Questions and kitchen notes
Made this recipe? Leave a rating and tell me how it turned out. Your questions and tips may also help the next person making it.