
From Nigel's Kitchen Table
Flourless Chocolate Cake
A rich gluten-free chocolate cake with a dense, truffle-like texture and deep chocolate flavour.
Navigate the recipe
On this page
The recipe, step by step
You are going to fall in love with this gluten-free flourless chocolate cake. It is has a rich, truffle-like texture packed with chocolate in every bite. Gluten-free and so good you will end up eating more than you want to.
The best part about this deliciously rich flourless cake is that it doesn’t require any flour alternatives. It can be made ahead of time, takes minimal effort, and looks great decorated with fruit and served with whipped cream or ice cream on the side.
Contents
Recipe Highlights
- EASE: Easy.
- TASTE: A rich chocolate flavour.
- TEXTURE: This cake has a dense, crumbly truffle-like centre.
- QUANTITY: 12 slices (23cm / 9inch springform pan)
- TIME: 1 hour 30 minutes
Ingredients
For this flourless chocolate cake recipe, all you need are these 6 ingredients:
- Dark or milk chocolate bar – choose your favourite chocolate for that beautiful rich flavour.
Chocolate recommendations: bars – Lindt Excellence dark 70% bar 100g, Montezuma’s darkside 51% bar 90g, Menier dark cooking chocolate 100g, Green and Black’s Organic dark Chocolate 100g, 1kg bags – Callebaut dark chocolate, Callebaut milk chocolate, Callebaut white chocolate.
- Butter – adds structure and flavour. I use salted butter for most of my baking as it intensifies the flavours, but feel free to use unsalted if you prefer.
- Medium eggs – build structure and richness to a recipe. Make sure they are at room temperature before use.
- Cocoa powder – adds a rich chocolate flavour and builds structure.
Cocoa recommendations: Dr. Oetker fine dark cocoa powder or not as dark – Sevenhills wholefoods organic cacao powder
- Caster or granulated white sugar – adds sweetness and structure to the bake.
Nigel Recommends
The Vanilla I Recommend
I recommend Taylor & Colledge vanilla products because they add a delicious depth of flavour while enhancing the other ingredients in the recipe. Choose from pure vanilla extract, vanilla paste or vanilla pods, depending on the recipe and the intensity of flavour you prefer.
- Salt – Dont forget the salt – I highly recommend adding a generous pinch of salt to chocolate cakes. It may sound unusual, but salt helps balance the chocolate’s natural bitterness while enhancing its sweetness and richness. You should not be able to taste the salt itself. Instead, it makes the other flavours more pronounced and gives the cake greater depth. Don’t be afraid to add a little—it can make a noticeable difference to the finished cake.
I recommend Maldon Sea salt flakes or Cornish sea salt, but any good quality sea salt is fine.
Variations
- Quality chocolate – makes all the difference in flavour.
Flavour recommendations: Lindt Excellence dark orange or Raspberry chocolate bar
- Coffee – is another great flavour to add. Mix 1 tablespoon of coffee powder with 2 tbsp hot water until dissolved and stir into the chocolate once melted.
Nutrition
Serving: one cake slice
404.26 kcal
CALORIES · 20% DV
29.06 g
TOTAL FAT · 42% DV
31.64 g
CARBOHYDRATES · 12% DV
24.66 g
SUGARS · 27% DV
5.86 g
PROTEIN · 12% DV
51.04 mg
SODIUM · 3% DV
3.41 g
FIBRE · 12% DV
% Daily Values based on a 2,000-calorie diet
Nutrition information is provided as an estimate and may vary depending on the ingredients and portion size used.
Storage and Freezing
This cake will keep well in an airtight container for 4-5 days in the fridge. Remove 1 hour prior to serving to allow the cake to come to room temperature.
Freezing: Wrap the cake in a layer of clingfilm and freeze for up to 3 months. Defrost at room temperature. Dust and decorate the cake before serving.

Equipment Suggestions
For this recipe, it is optional to use an electric hand or stand mixer, it can be made without. Other recommendations include:
- Pyrex Glass Measuring Jug, 1L – I think I have said it before that I am not a big fan of plastic, so I like this type of glass measuring jug for calculating my liquids.
- Milk Saucepan – 1 Litre With Double Sided Pouring Lips -This small pan is a great size for boiling small amounts of liquids and it has pouring lips built into the rim of the saucepan which makes it easy to use.
I find these small one litre glass bowls useful for mixing small amounts of ingredients.
- Silicone spatula – I recommend these sturdy silicone spatulas because they are incredibly useful for baking and everyday cooking. Their firm handles make them excellent for scraping mixtures from bowls, dishes and frying pans, while the raised centre of the larger spatula gives it extra strength. You can find them and more of my favourite baking equipment in my Amazon Cake Making collection.
These springform pans make removing cakes from them after baking a doddle. I personally tend to line them as often as possible to ensure that my cakes don’t break for added security.
Recipe Tips
When adding the egg whites to the chocolate mix, first add two dessert spoons of the egg whites and gently stir through. This will make it easier to fold in the remaining egg whites and less air will be lost.
Sudden temperature changes can cause cakes to sink in the middle, to prevent this, avoid opening the oven door before 3/4 of the baking time, even if you need to rotate your cake.
Use good quality chocolate and Dutch cocoa powder to get the best results in taste and finish.
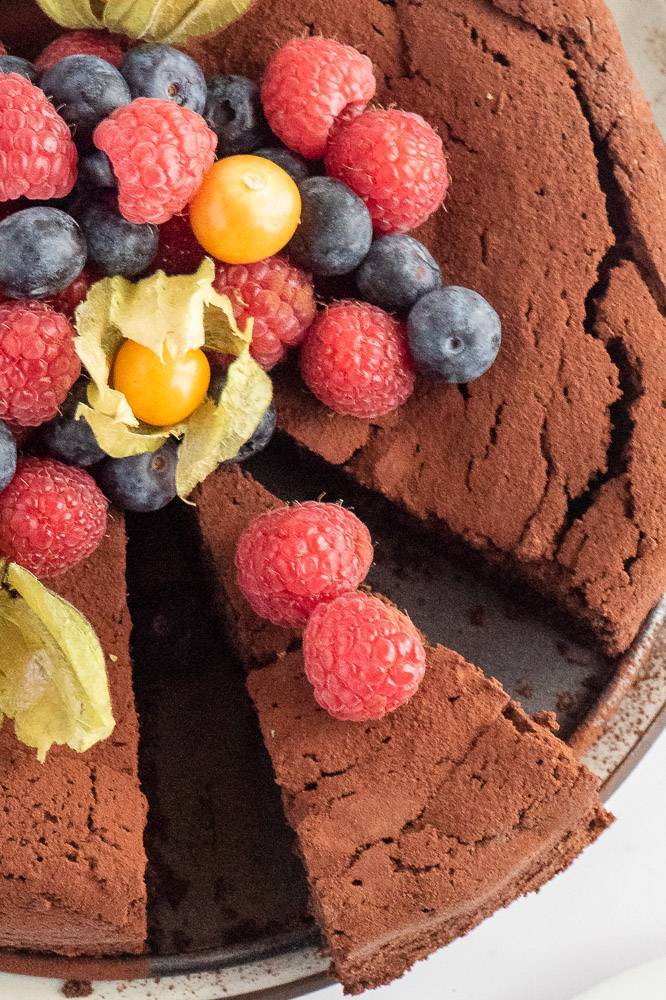
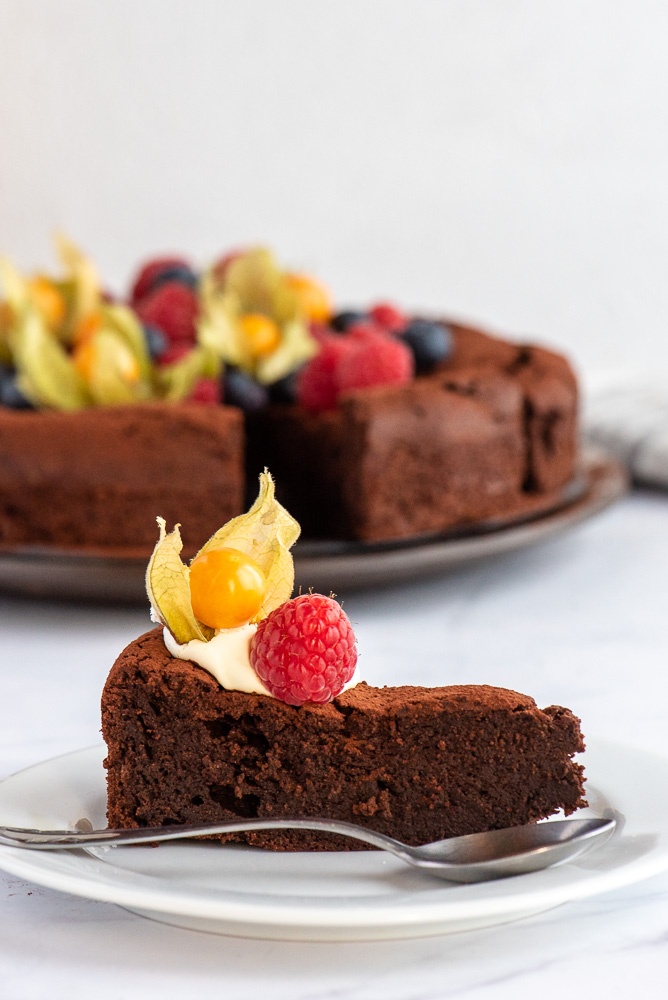
This cake will sink slightly in the centre, but still looks amazing. If you want to disguise it simply dust with icing sugar or cocoa powder and decorate with fresh fruit.
Flourless Chocolate Cake
- 23cm / 9inch springform pan
INGREDIENTS LIST
- 400 g dark chocolate (minimum 50% cocoa solids)
- 200 g butter
- 7 medium eggs (seperated)
- 30 g unsweetened cocoa powder (plus extra for dusting)
- 150 g caster sugar
- 1 pinch fine sea salt
- 1 tsp pure vanilla extract or 1/4 tsp of vanilla paste
Preparation
- Preheat the oven to 140°C fan / 320°F / Gas 3.Grease and line a 23cm (9inch) springform pan with butter and baking/parchment paper.
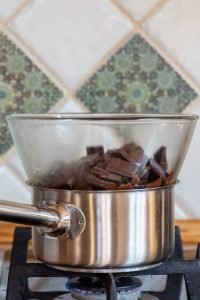
- In a medium-sized heatproof bowl, melt the butter and chocolate in the microwave for a few seconds or over a pan of gently simmering water (double boiler method), stirring occasionally. Once smooth, glossy and completely melted set aside to cool slightly.
- Separate the egg yolks and whites between two large mixing bowls. Whisk the egg whites for 2 to 3 minutes until soft peaks form.
- Add the sugar and vanilla to the yolks and beat until pale and the sugar has dissolved. Approxiamately 5-6 minutes.
- Sift the cocoa powder into the egg yolk mixture with a pinch of salt and gently stir to combine.
- Add the melted chocolate mixture to the egg yolks and stir until well combined.
- Add 2 dessert spoons of egg whites into the chocolate mix and gently stir through, then gently fold in the remaining egg whites. Be careful not to over mix or all that precious air you whisked into them will be lost.
- Pour the batter into the prepared baking pan.
- Baking: Place it on the medium shelf of the oven and bake for approximately an hour or until an inserted skewer comes out clean.
- Allow the cake to cool for 10 minutes in the pan before removing the outer ring, leaving it to cool on a wire rack. I like to leave the base of the pan on until it is completely cooled, as it is quite a crumbly cake and can easily break.Serve with a dusting of cocoa powder or icing sugar and fresh berries.
Notes & Tips
- When adding the egg whites to the chocolate mix, first add two dessert spoons of the egg whites and gently stir through. This will make it easier to fold in the remaining egg whites and less air will be lost.
- Sudden temperature changes can cause cakes to sink in the middle, to prevent this avoid opening the oven door before 3/4 of the baking time, even if you need to rotate your cake.
- Use good quality chocolate and Dutch cocoa powder to get the best results in taste and finish.
- This cake will sink slightly in the centre, but still looks amazing. If you want to disguise it simply dust with icing sugar or cocoa powder and decorate with fresh fruit.
FROM MY KITCHEN TO YOURS
Made this recipe?
I would love to hear how it turned out. Leave a comment and add a star rating to help other home cooks discover the recipe.
A recipe worth keeping
Save this recipe for another day
Pin it to one of your boards and keep it close for the next time you are ready to cook or bake.
Save to PinterestKeep cooking
You may also like
 Recipe
Chocolate Chia Pudding
A creamy vegan chocolate chia pudding topped with rich hazelnut fudge sauce for a simple, satisfying dessert or breakfast.
View recipe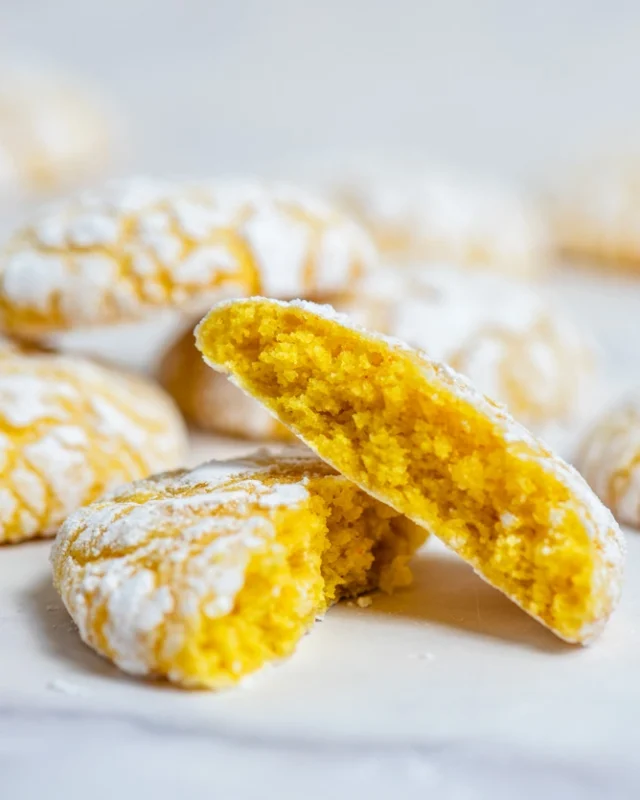 Recipe
Lemon Crinkle Cookies
Soft lemon crinkle cookies with snowy cracked tops and a bright, refreshing citrus flavour.
View recipe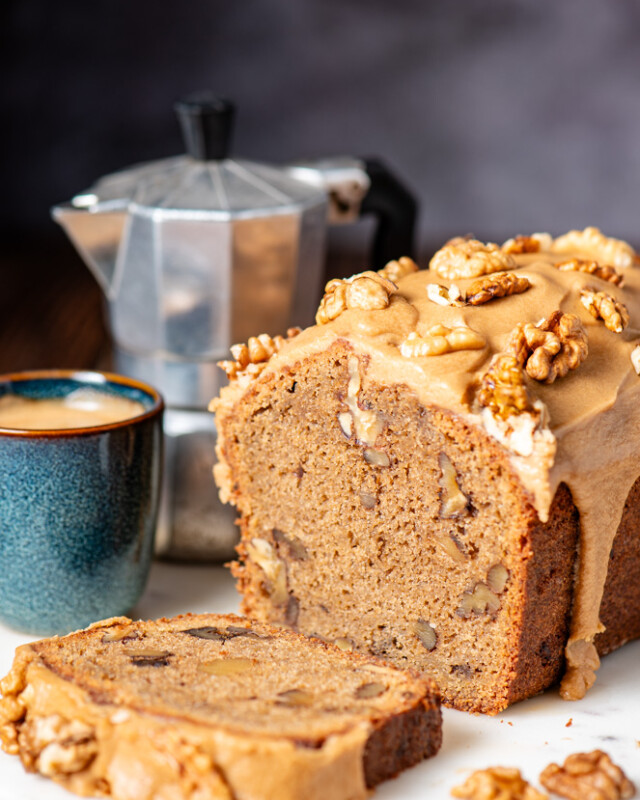 Recipe
Coffee & Walnut Loaf Cake
A moist coffee and walnut loaf cake finished with a smooth espresso and vanilla glaze.
View recipe
Around the table
Questions and kitchen notes
Made this recipe? Leave a rating and tell me how it turned out. Your questions and tips may also help the next person making it.