
From Nigel's Kitchen Table
Walnut Crescent Biscuits
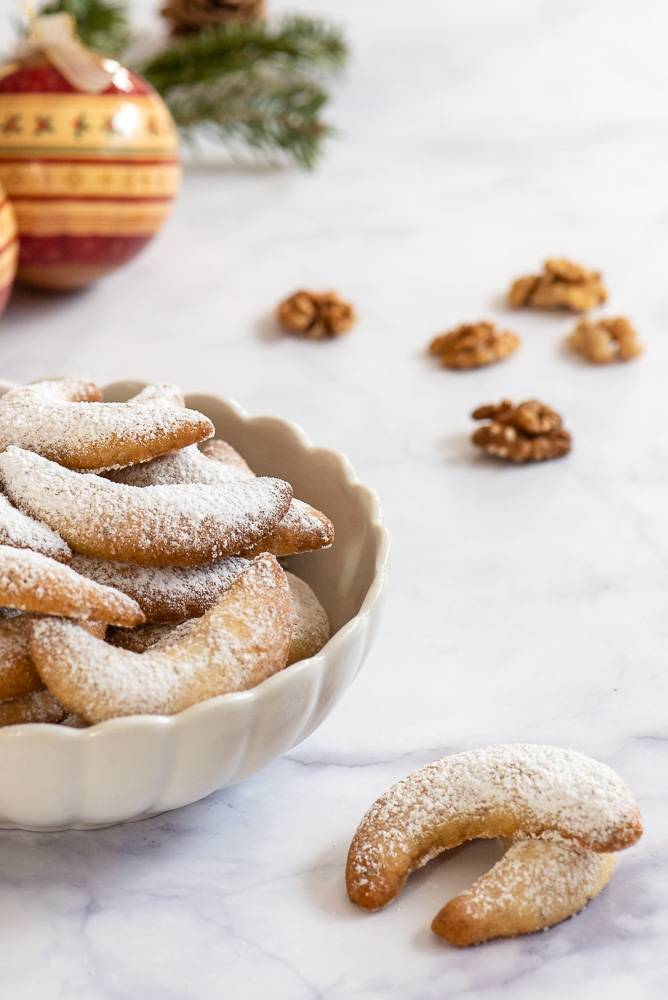
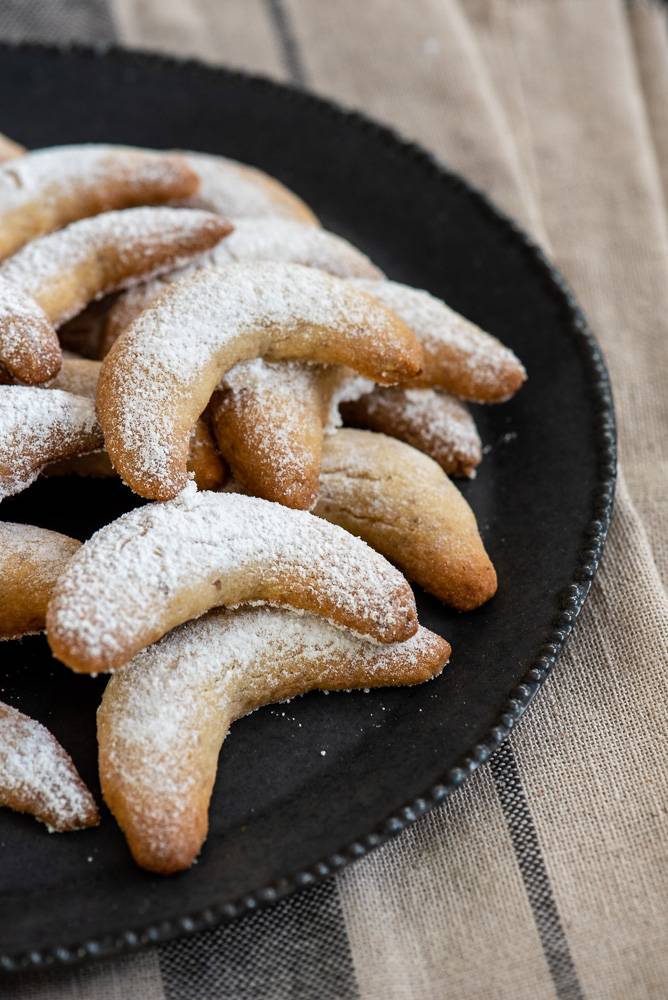
Buttery walnut crescent biscuits with a delicate shortbread crunch that melts in the mouth.
Navigate the recipe
On this page
The recipe, step by step
These walnut crescent biscuits are easy and fast to make. Their buttery shortbread texture gives a little resistant crunch before melting in your mouth. Irresistible and moreish they are perfect with a cup of tea or coffee!
These biscuits appear throughout the world, eaten during the festive season and through winter they are often given as Christmas edible gifts. This particular version is from Hungary, known as Hókifli.
During the lead up to Christmas my work colleague couldn’t stop talking about them and it became a running joke where he wasn’t going to come over to our house if there was no walnut crescent biscuits (aka- Hókifli) available.
So here is his favourite recipe for these melt-in-the-mouth biscuits and if you like these you might also like my Viennese biscuit recipe.
RECIPE HIGHLIGHTS
- EASE: Fast and easy.
- TASTE: sweet, buttery and nutty.
- TEXTURE: A little crunch before melting in the mouth.

INGREDIENTS
For this walnut crescent biscuit recipe, all you need are these ingredients:
- Butter – adds structure and flavour. I use salted butter for most of my baking as it intensifies the flavours, but feel free to use unsalted if you prefer. Make sure it’s at room temperature before using.
- Powdered / icing sugar – adds refined sweetness and structure, as well as ensures that melt-in-the-mouth texture.
Nigel Recommends
The Vanilla I Recommend
I recommend Taylor & Colledge vanilla products because they add a delicious depth of flavour while enhancing the other ingredients in the recipe. Choose from pure vanilla extract, vanilla paste or vanilla pods, depending on the recipe and the intensity of flavour you prefer.
- Ground walnuts – add flavour, moisture, texture, and structure to the recipe.
- Plain or all-purpose flour – to build structure, as we do not use any other raising agents.
- Salt – Dont forget the salt – I highly recommend adding a generous pinch of salt to your desserts. Salt helps balance sweetness and richness while enhancing the other ingredients and bringing out the best flavours in the recipe. Although it may seem contradictory, a small amount of salt can also make sweet foods taste sweeter. Sodium can influence the way our taste receptors respond to sugars, helping us perceive sweetness more clearly. The key is to add just enough to enhance the flavours without making the dessert taste salty.The result is that salt not only alerts our ‘salt sensitivity’, but also our ‘sweet sensitive’ taste buds.
I recommend Maldon Sea salt flakes or Cornish sea salt.
WHAT VARIATIONS CAN I MAKE?
- Biscuit flavours – can easily be changed. Try adding orange or lemon zest for a citrus hit.
- Alternative nuts – another great option is to use almonds or hazelnuts instead of walnuts and you can even add a little almond extract to enhance the taste further.
Nutrition
Serving: one biscuit
70.16 kcal
CALORIES · 4% DV
4.84 g
TOTAL FAT · 7% DV
6.06 g
CARBOHYDRATES · 2% DV
1.47 g
SUGARS · 2% DV
0.93 g
PROTEIN · 2% DV
0.65 mg
SODIUM · 0% DV
0.29 g
FIBRE · 1% DV
% Daily Values based on a 2,000-calorie diet
Nutrition information is provided as an estimate and may vary depending on the ingredients and portion size used.
STORAGE AND FREEZING
These biscuits will keep in an airtight container for up to 5 days.
Freezing the baked biscuits – cool the biscuits completely after baking and place them in a freezer bag or airtight container. They will last up to 1 month. When you are ready to serve, allow the cookies to reach room temperature before serving.


TOOLS YOU’LL NEED
For this recipe, you do not need to have any specialist equipment apart from a few basics, a electric hand or stand mixer is optional:
- Baking Tray, 45 × 30 × 2 cm – I recommend this tray when I don’t need to use the much larger baking tray that came with my oven. At 45 × 30 cm, it is a really useful size for smaller batches of biscuits, pastries and other bakes, and it fits my silicone baking mat nicely. It is one of those practical pieces of equipment that I reach for whenever the full-size oven tray feels unnecessarily large.
- Baking mat – I love using these 42 × 29.5 cm silicone baking mats because they prevent food from sticking to the baking tray and are incredibly easy to clean. This handy set includes two reusable mats.
- Fine Mesh Strainer – I recommend this 40 × 25 cm cooling rack because it is ideal for cooling cakes, biscuits and other freshly baked treats. I find it so useful that I have a couple of them, especially when baking several batches at once. You can find it and more of my favourite baking equipment in my Amazon Baking Essentials collection.
RECIPE TIPS
Troubleshooting Crumbly Dough – if the dough holds together when you press it in your fist, then it is perfect. The dough is supposed to be a little crumbly. If it doesn’t come together, try dampening your hands just a little with cold water. This should help to bring the dough together to form a dough ball.
Walnut Crescent Biscuits
- A baking tray (see equipment suggestions on blog page)
INGREDIENTS LIST
- 200 g plain flour (all-purpose)
- 50 g icing sugar (US powdered sugar)
- 1 tsp pure vanilla extract or 1/4 tsp of vanilla paste
- 70 g ground walnuts
- 150 g butter
Preparation
- In a medium mixing bowl, beat the butter and sugar together until light and fluffy. Add the vanilla extract and mix in.
- If your walnuts are not already ground, grind the walnuts using an electric mixer or place them inside a kitchen towel and crush them with a rolling pin.
- Add the ground walnuts and the flour to the butter mixture and mix thoroughly.
- I find the mixture is crumbly at first and then comes together in my fist as I squeeze it to form a dough. This can also be done in an electric mixer until it forms the crumb texture and then finished by hand to form the dough.
- Line 2 baking trays with baking parchment or silicon mats.
- Once the dough has come together, cut off a large golf ball size piece and roll it out until it is about 1cm thick.

- Cut the cylinder into 6cm (2.3 inches) length pieces.

- Take each piece and gently squeeze and roll the ends, so that the ends become a little pointed like a croissant.
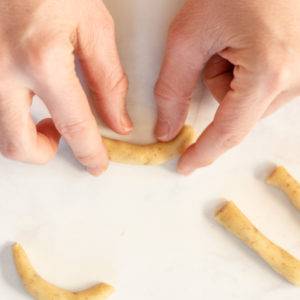
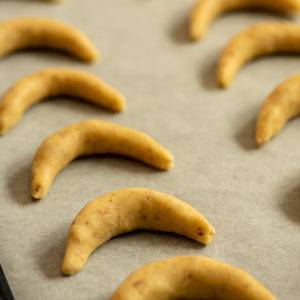
- Now bend the piece into a crescent shape and place it on the baking tray.

- Continue until all the dough has been used up and then chill in the fridge for 20 minutes.
- Preheat the oven 170°C fan / 375°F / Gas 5.
- Bake in the oven for 10-12 minutes, or until pale golden-brown. Set aside to cool on the baking trays for 5 minutes and then dust with icing sugar.
Notes & Tips
FROM MY KITCHEN TO YOURS
Made this recipe?
I would love to hear how it turned out. Leave a comment and add a star rating to help other home cooks discover the recipe.
A recipe worth keeping
Save this recipe for another day
Pin it to one of your boards and keep it close for the next time you are ready to cook or bake.
Save to PinterestKeep cooking
You may also like
 Recipe
Chocolate Chia Pudding
A creamy vegan chocolate chia pudding topped with rich hazelnut fudge sauce for a simple, satisfying dessert or breakfast.
View recipe Recipe
Lemon Crinkle Cookies
Soft lemon crinkle cookies with snowy cracked tops and a bright, refreshing citrus flavour.
View recipe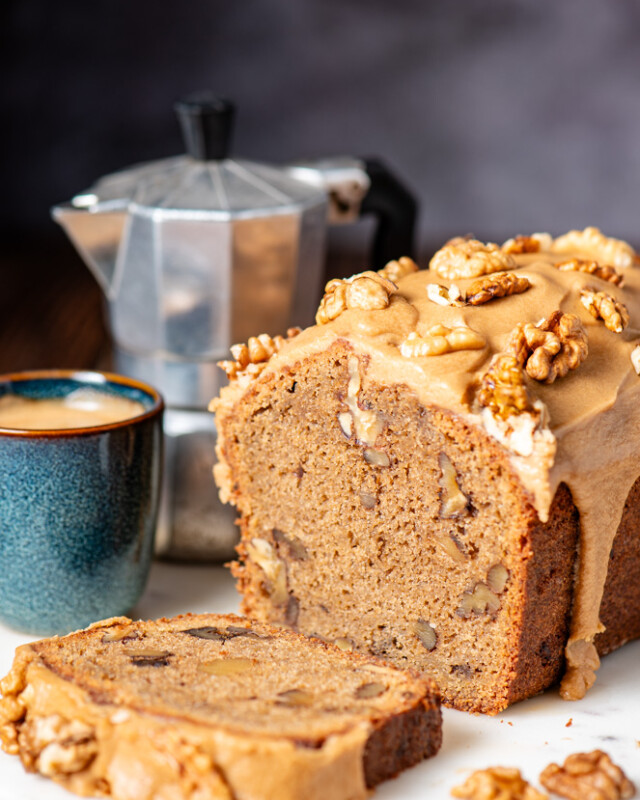 Recipe
Coffee & Walnut Loaf Cake
A moist coffee and walnut loaf cake finished with a smooth espresso and vanilla glaze.
View recipeAround the table
Questions and kitchen notes
Made this recipe? Leave a rating and tell me how it turned out. Your questions and tips may also help the next person making it.
Can’t believe this is the first comment – these biscuits are deeelicious! I made a batch a couple of weeks ago and they lasted about 48 hours (household of 3). Just making them again now, although short on walnuts, so have substituted with toasted hazelnuts. Thanks!
I am happy that you like them. And the hazelnut version sounds great.
Hi i want to ask you if i can make your crescents by using more walnut and much less of the all purpose gluten free flour for less carbs? I’ m gluten free but it is too high in carbs. Thankyou so much. I like to hear from you very soon please.
Dear Rosa, due to some technical issues I only just received your message just now. I can only suggest giving it a go as I have not tried it myself. I would have thought that the ground walnuts act in a similar way to flour, although they may make the biscuit more crumbly. Good luck if you give it a go and let me know how they came out.
These are delicious and moreish, perfectly buttery and crumbly, not overly sweet and a good amount of walnut. I made a double batch and added a tsp of salt as I was using unsalted butter. I must have made mine quite a bit larger as my double batch yielded just over 40 biscuits. One tray came out slightly more golden and these were a little tastier. Thanks for a great recipe!
Thanks for the feedback and really happy to hear you tried the recipe and enjoyed them.